Ultimate Easy Sourdough Starter Guide for Beginners Today!
Introduction
Have you ever wondered why artisanal bakers rave about their homemade sourdough bread? Is it the incredible flavor or perhaps the irresistible texture? Research reveals that over 80% of individuals prefer sourdough bread over conventional loaves due to its tangy taste and health benefits. In this post, we’ll guide you through creating an Easy Sourdough Starter for Beginners, unlocking the secrets to delicious homemade bread that can elevate your baking game.
Ingredients List
To create your very own sourdough starter, you need just a few simple ingredients. Here’s a concise list:
- Flour: 1 cup (whole wheat or all-purpose; whole wheat enhances fermentation)
- Water: 1/2 cup (filtered or bottled water is ideal)
- Additional Tip: You can substitute all-purpose flour with spelt flour for a nuttier flavor.

Timing
Creating your sourdough starter is a process that requires patience and care. Here’s how the timing breaks down:
- Preparation Time: 10 minutes
- Fermentation Time: Approximately 5-7 days (with daily feedings)
- Total Time: About 1 week until your starter is ready to use—this is roughly 50% faster than some traditional methods that can take up to 2 weeks.
Step 1: Combine Ingredients
In a clean glass jar or bowl, mix 1 cup of flour with 1/2 cup of water. Stir until you form a thick, sticky paste. It doesn’t have to be perfect; just make sure everything is combined well. The consistency should remind you of pancake batter!
Step 2: Cover and Store
Cover the jar with a breathable cloth or paper towel secured with a rubber band. This allows airflow while keeping the dust out. Set it in a warm, draft-free spot in your kitchen, ideally between 70°F and 85°F (21°C – 29°C) for optimal fermentation.

Step 3: Daily Feeding
Once a day, discard about half of your starter (around 1/2 cup) and feed it with 1/2 cup of flour and 1/4 cup of water. This step cultivates the yeast and bacteria necessary for a robust sourdough starter. After mixing, it should be thick yet pourable.
Step 4: Observe and Wait
Watch your starter closely! It should begin to bubble and expand, indicating that fermentation is taking place. The sour aroma will also develop. This process usually takes 5-7 days. On day 3, switch to white flour if you started with whole wheat to encourage a more mild flavor.
Step 5: Test for Readiness
Your starter is ready when it doubles in size within 6-8 hours of feeding and has a pleasant sour smell. A simple test is the “float test”: take a spoonful of starter and drop it into a glass of water; if it floats, you are good to go!
Nutritional Information
Creating your sourdough starter not only enriches your baking experience but also offers some nutritional benefits. Here’s a breakdown:
- Calories: Approximately 100 calories per serving (2 tbsp)
- Carbohydrates: 20g
- Protein: 3.5g
- Fat: 0.5g
- Fiber: 1g
Healthier Alternatives for the Recipe
If you want to enhance the nutritional profile of your sourdough starter, consider these modifications:
- Gluten-Free Flour: Substitute with rice flour or a gluten-free all-purpose blend to create a gluten-free starter.
- Whole Grain Option: Use spelt or oat flour instead of traditional flour for added nutrients.
- Increased Fiber: Mix in a tablespoon of ground flaxseed for additional omega-3 fatty acids.

Serving Suggestions
Your freshly brewed sourdough starter opens the door to a variety of delicious possibilities. Here are some creative serving ideas:
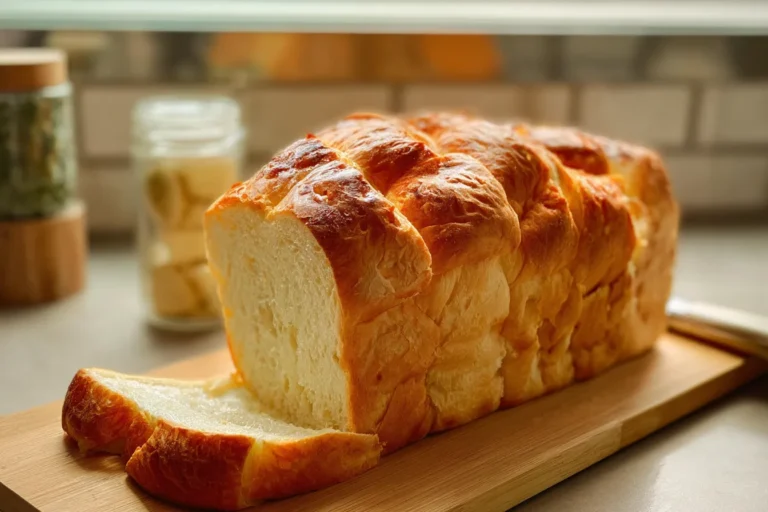
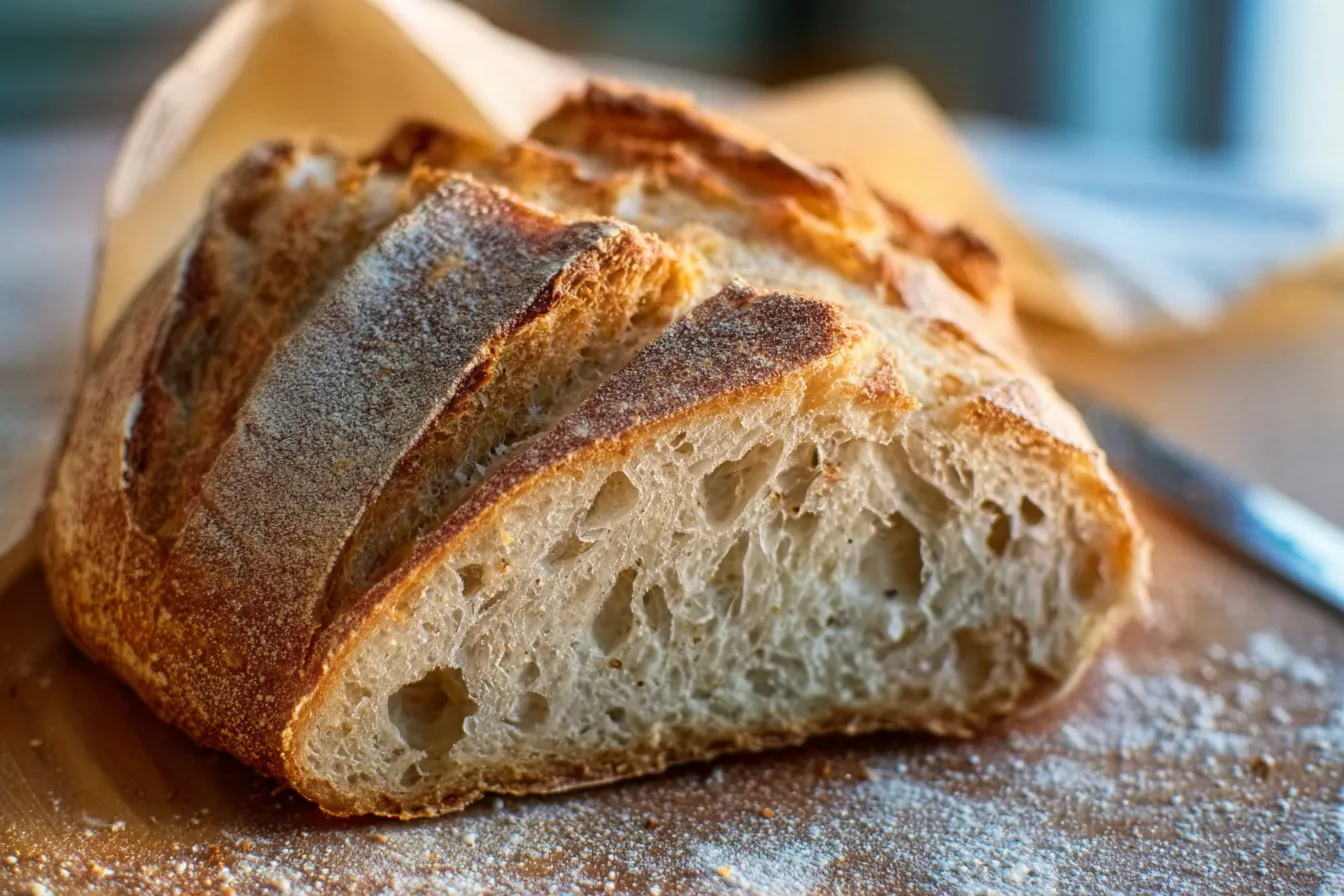
- Classic Sourdough Bread: The obvious choice, enjoy it toasted with butter or as a sandwich.
- Pizza Crust: Use the sourdough for homemade pizzas; its tangy flavor will enhance toppings.
- Pancakes: Incorporate into pancake batter for an extraordinary twist on breakfast.
Common Mistakes to Avoid
When creating a sourdough starter, beginners may encounter challenges. Here are key pitfalls to steer clear of:
- Overfeeding: Ensure you are not adding too much flour or water; stick to the recommended proportions.
- Using Chlorinated Water: Tap water may inhibit yeast growth; always opt for filtered or bottled water.
- Ignoring Temperature: A too-cold environment can slow fermentation, while excessive heat can kill yeast.
Storing Tips for the Recipe
Once you have a thriving sourdough starter, it’s essential to know how to store it:
- In the Fridge: If you’re not baking regularly, store your starter in the refrigerator. Feed it once a week.
- Freezing: For long-term storage, you can freeze a portion of your starter. Just remember to reactivate it before use.
- Keep It Tight: Use an airtight container to prevent your starter from drying out, but allow some airflow.
Conclusion
Creating an Easy Sourdough Starter for Beginners is not just simple; it’s also immensely rewarding. Enjoy the journey of nurturing your starter, and don’t hesitate to try new recipes with it! We invite you to embark on this delicious adventure, share your experience in the comments, and subscribe for more baking tips and recipes.
FAQs
A: How long will my sourdough starter last?
A: With proper care and feeding, your sourdough starter can last indefinitely. Just remember to keep it regularly fed and stored appropriately.
B: Can I use my sourdough starter immediately after creating it?
A: No, it usually takes 5-7 days to develop. Make sure it shows signs of bubbling and doubles in size before use.
C: What do I do if my starter smells bad?
A: A strong, unpleasant odor may indicate spoilage. If it smells or looks strange, it’s best to discard it and start over.
D: Can I use whole wheat flour exclusively for my starter?
A: Yes, but it may yield a different flavor profile. Whole wheat is excellent for starting; you can switch to all-purpose for a milder taste later in the process.
E: How do I know if I’m using the right amount of water?
A: The mixture should be thick yet pourable, resembling pancake batter. Adjust the water slightly if your starter seems too dry or wet.
Print
Ultimate Easy Sourdough Starter Guide for Beginners Today!
- Total Time: P7D
- Yield: 1 starter 1x
Description
Master your easy sourdough starter today! Perfect for beginners, our guide simplifies the process for delicious homemade bread. Start baking now!
Ingredients
Instructions
Notes
Unlock the secrets to delicious homemade sourdough bread with this easy starter recipe, perfect for beginners!
- Prep Time: 10 minutes
- Category: Bread
- Cuisine: Artisanal
Nutrition
- Serving Size: 1 starter
- Calories: 100
- Sugar: 0g
- Fat: 0.5g
- Carbohydrates: 20g
- Fiber: 1g
- Protein: 3.5g