Irresistible Chocolate Covered Wafer Sticks You’ll Crave!
Introduction
Have you ever wondered how something so simple can bring such joy? Chocolate-covered wafer sticks are not just a treat; they evoke nostalgia, satisfy cravings, and make for delightful gifts. With their crispy texture and rich chocolate coating, these delicious snacks can swiftly become your go-to recipe. Join me in exploring this indulgent yet surprisingly easy-to-make recipe that challenges the notion that gourmet treats are only for skilled bakers. Let’s dive into the world of Chocolate Covered Wafer Sticks!
Ingredients List
- Wafer Sticks: About 12-15 wafer sticks, available in vanilla or chocolate. You can also try making your own with a homemade wafer recipe!
- Chocolate: 200g of dark chocolate (70% cocoa recommended for a richer flavor) or you can substitute with white chocolate for a sweeter option.
- Drizzle Toppings: Optional toppings such as crushed nuts, sprinkles, or shredded coconut for decoration.
- Oil: 1 tablespoon of coconut oil (optional, adds smoothness to the chocolate). You can use vegetable oil if you prefer.
- Flavorings: A dash of vanilla extract for added depth (optional but recommended).
Timing
Getting these Chocolate Covered Wafer Sticks ready takes a total of about 30 minutes, which is significantly less time than the average cookie recipe! Here is the breakdown:
- Preparation time: 10 minutes
- Cooking time: 10 minutes
- Cooling time: 10 minutes
Step-by-Step Instructions
Step 1: Prepare Your Ingredients
Gather all your ingredients. Make sure your chocolate is broken into small pieces for even melting. If you’re incorporating coconut oil, measure it out now. Preheat your oven to a low setting if you’re using a double boiler method for the chocolate.
Step 2: Melt the Chocolate
Using a microwave-safe bowl, heat your chocolate in 30-second bursts, stirring in between, until the chocolate is completely melted and smooth. If you are using coconut oil, add it when the chocolate is almost melted to ensure a silky finish.
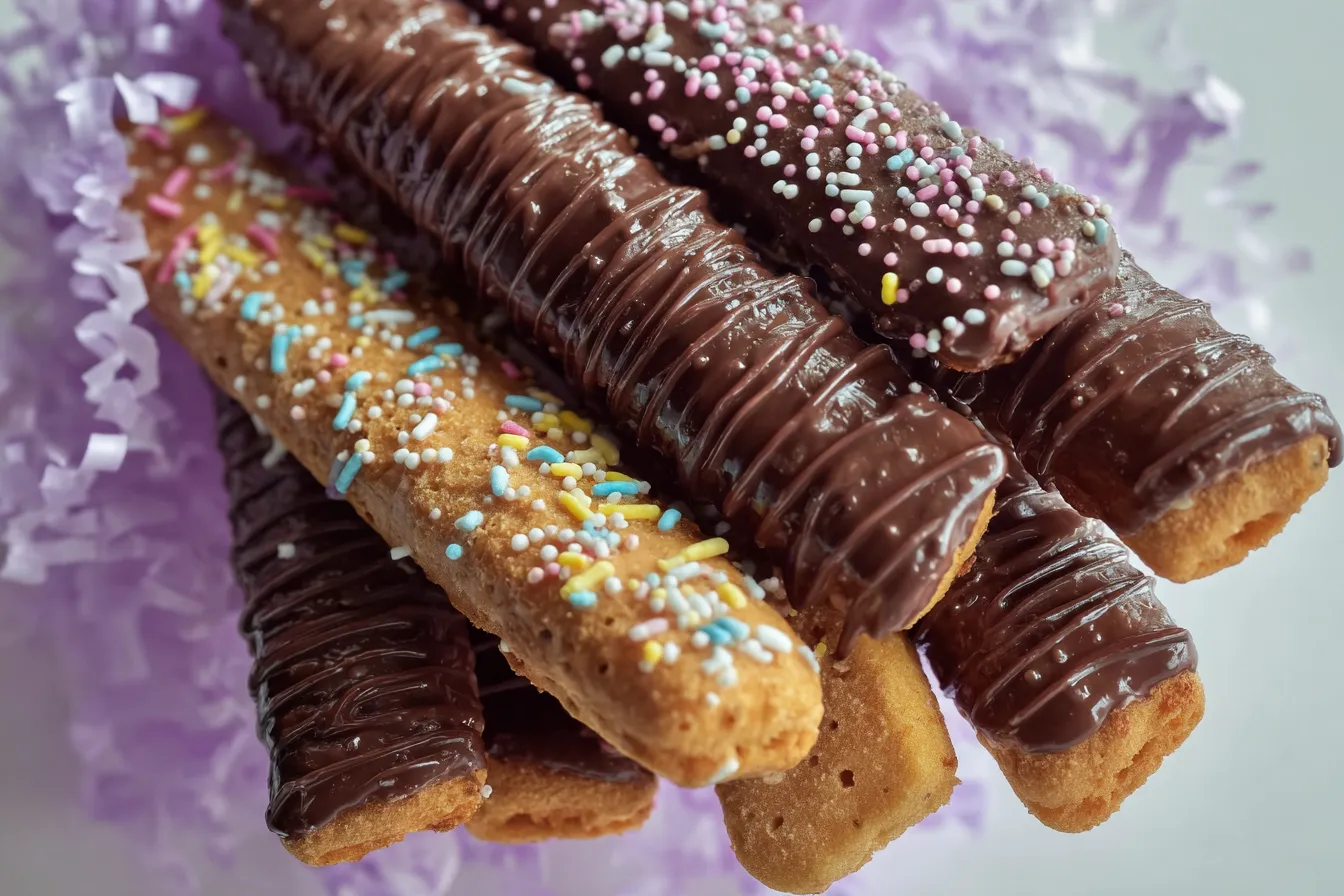
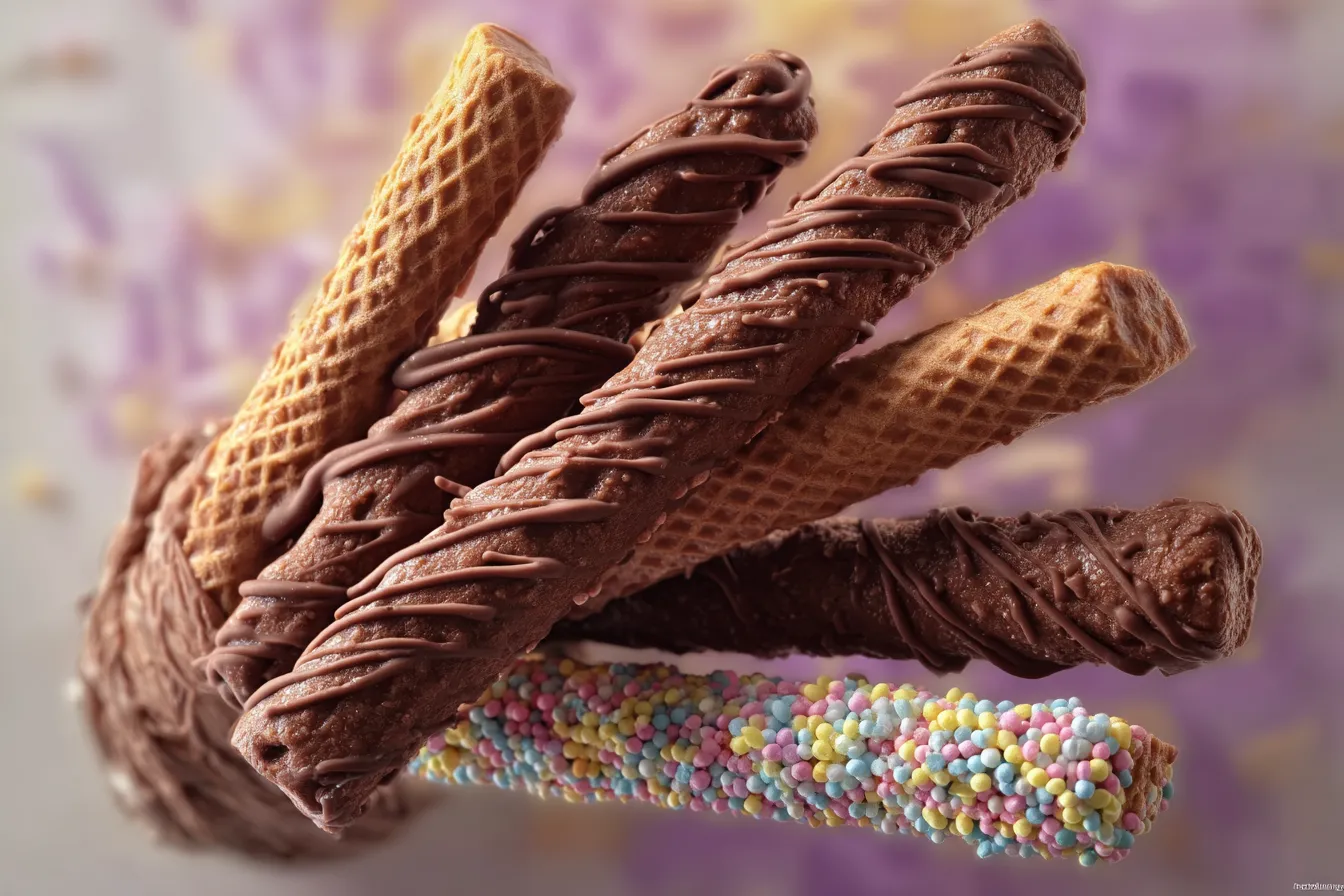
Step 3: Dip the Wafer Sticks
Taking a wafer stick, dip it into the melted chocolate, ensuring it’s well-coated. Let the excess chocolate drip off back into the bowl. This step is crucial for avoiding overly thick chocolate layers.
Step 4: Add Toppings (optional)
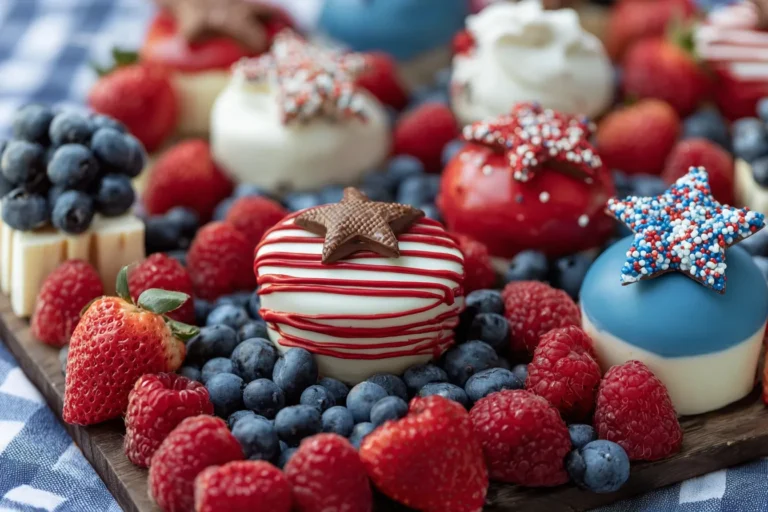
If you wish to add toppings, now is the time! Sprinkle crushed nuts, sprinkles, or shredded coconut on the chocolate-coated wafers before they set. This adds a lovely texture and visual appeal.
Step 5: Cool the Wafer Sticks
Place the dipped wafer sticks onto a baking sheet lined with parchment paper. Allow them to cool at room temperature for about 10 minutes, or place them in the fridge for quicker setting.
Step 6: Enjoy or Store
Once your Chocolate Covered Wafer Sticks are set, they are ready to be enjoyed! If you’re not consuming them immediately, store them in an airtight container.
Nutritional Information
Here’s a glimpse at the nutrition facts for each Chocolate Covered Wafer Stick (based on an average recipe):
- Calories: 150 kcal
- Carbohydrates: 20 g
- Protein: 2 g
- Fat: 8 g
- Saturated Fat: 5 g
- Sugar: 10 g
These values offer a quick overview that showcases the dish’s balance of flavors versus nutritional content. Making mindful decisions on portion sizes can go a long way.
Healthier Alternatives for the Recipe
While these Chocolate Covered Wafer Sticks are indulgent, there are ways to make them healthier without compromising on taste:
- Use dark chocolate with at least 70% cocoa, which contains antioxidants and less sugar.
- Swap standard wafer sticks for whole grain or gluten-free options, maintaining that delightful crunch.
- For a vegan alternative, utilize dairy-free chocolate and look for plant-based wafer sticks.
- Experiment with toppings; options like sliced fruit, unsweetened cocoa powder, or seeds can provide additional nutrients.

Serving Suggestions
There are numerous delightful ways to serve Chocolate Covered Wafer Sticks:
- Party Platters: Arrange them on a decorative platter for an eye-catching dessert option at gatherings.
- In Coffee: Pair with your favorite latte or hot chocolate as an after-dinner treat.
- Gift Ideas: Package the sticks in a cute jar or box, perfect for holidays or special occasions.
- Children’s Parties: Use chocolate-covered wafer sticks as decorations for cupcakes or cake pops.
Common Mistakes to Avoid
Even the simplest recipes have their pitfalls. Here are some common mistakes you’ll want to avoid:
- Overheating Chocolate: Always melt chocolate gently; overheating can cause it to seize.
- Skipping the Chill: Allowing finished sticks to cool completely helps them keep their texture.
- Poor Coating: Ensure to dip fully and let excess chocolate drip off to avoid clumpy coatings.
- Ignoring Freshness: Store in a cool, dry place to maintain the sticks’ crispness.
Storing Tips for the Recipe
To maintain the freshness and flavor of your Chocolate Covered Wafer Sticks:
- Store in an airtight container at room temperature for up to one week.
- Avoid refrigeration unless necessary, as it might affect the texture.
- If you want to prepare in advance, make the sticks and store them without toppings; add toppings just before serving.
Conclusion
Chocolate Covered Wafer Sticks are a delightful treat that are quick and easy to prepare, with endless customization options for health-conscious individuals. Dive into this indulgent recipe and bring a little joy to your snacking. Let us know how your version turns out, share your feedback in the comments, and don’t forget to subscribe for more delicious updates!
FAQs
A: What kind of chocolate should I use?
We recommend dark chocolate (70% cocoa) for a richer flavor and health benefits. However, you can also use milk or white chocolate based on your preference.
B: Can I use homemade wafers instead of store-bought?
Absolutely! Using homemade wafers can add a personal touch and allows you to control the ingredients.
C: Are these wafer sticks suitable for vegans?
Yes, you can make them vegan by using dairy-free chocolate and ensuring the wafer sticks don’t contain animal products.
D: How long will the chocolate-covered wafer sticks last?
When stored properly in an airtight container, they will remain fresh for about one week at room temperature.
E: Can I make these ahead of time?
Yes! You can prepare the chocolate-covered wafer sticks a few days in advance. Just store them without toppings and add those just before serving for best results.
Print
Chocolate Covered Wafer Sticks
- Total Time: 30 minutes
- Yield: 12–15 sticks 1x
Description
Discover the delight of chocolate coated wafer sticks. Perfect for snacking or dessert, these treats will satisfy your cravings anytime! (151 chars)
Ingredients
Instructions
Notes
Chocolate-covered wafer sticks are not just a treat; they evoke nostalgia, satisfy cravings, and make for delightful gifts. With their crispy texture and rich chocolate coating, these delicious snacks can swiftly become your go-to recipe.
- Prep Time: 10 minutes
- Cook Time: 10 minutes
- Category: Dessert
- Cuisine: American
Nutrition
- Serving Size: 12-15 sticks
- Calories: 150 kcal
- Sugar: 10 g
- Fat: 8 g
- Carbohydrates: 20 g
- Fiber: N/A
- Protein: 2 g