Deliciously Easy Cherry Pie Bars: Must-Try Recipe Today!
Introduction
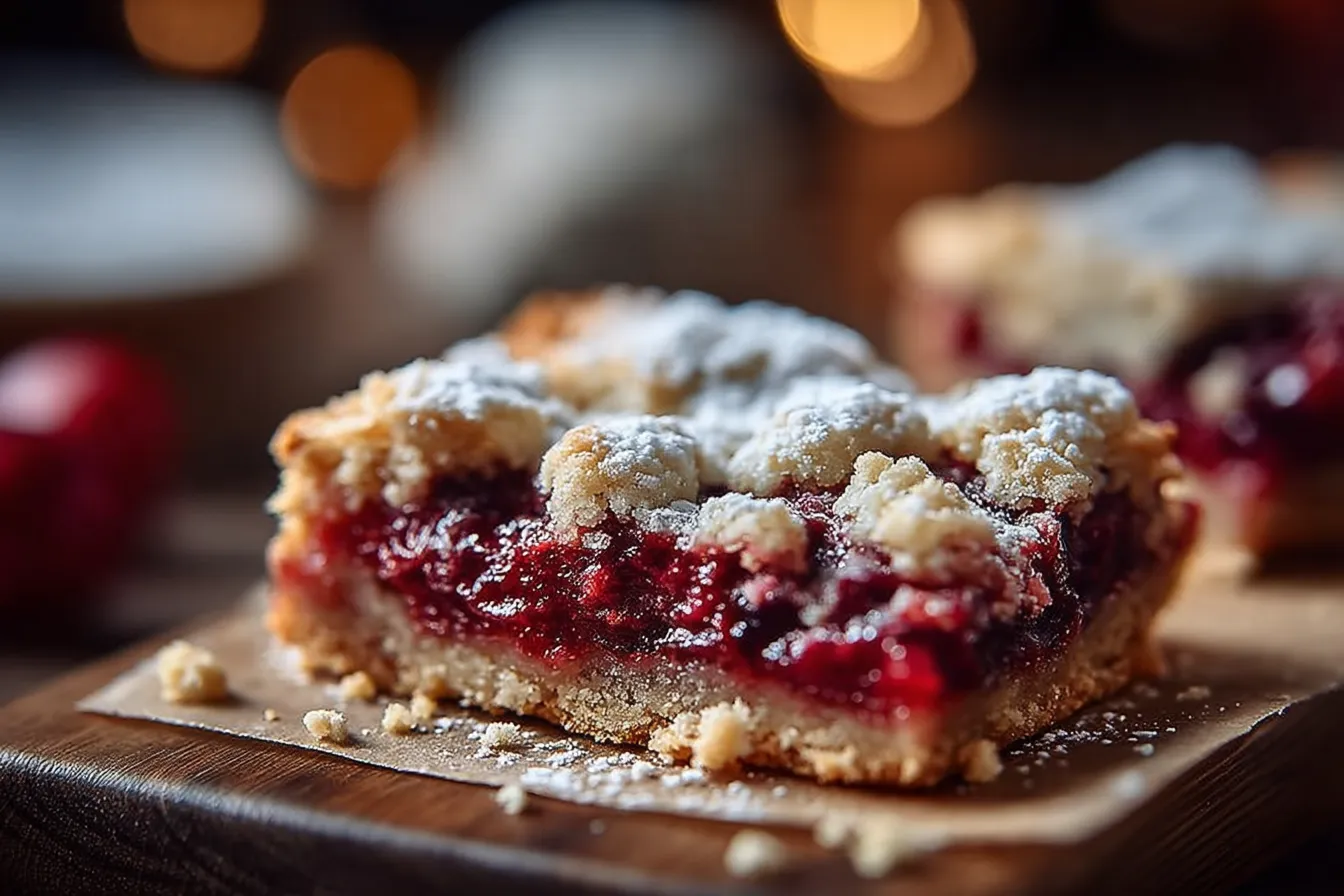
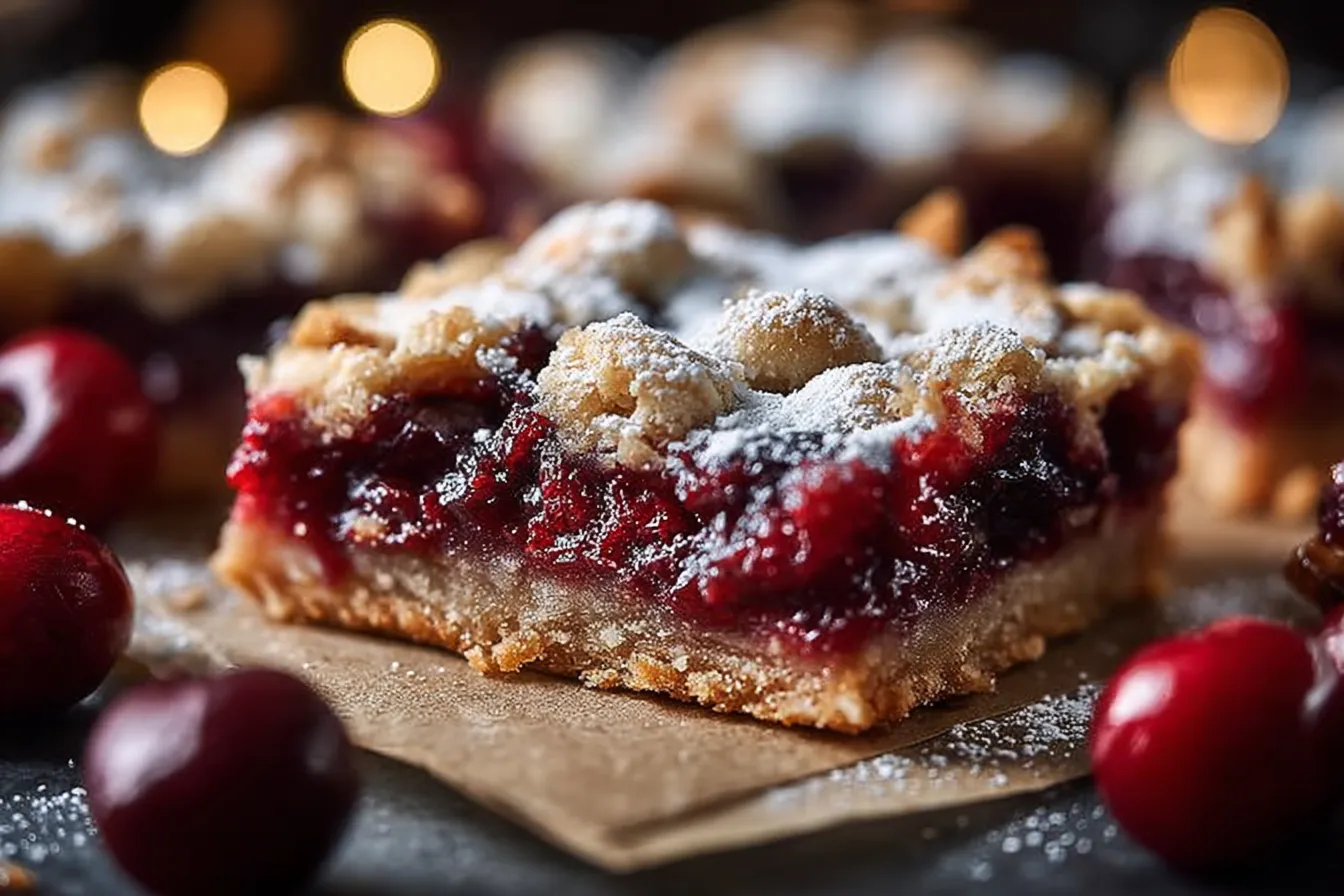
Did you know that over 63% of Americans consider pie the ultimate dessert, yet many shy away from making it at home due to perceived complexity? If you’ve ever been intimidated by the thought of baking a traditional cherry pie, our Cherry Pie Bars offer a simple, yet delightful alternative. This recipe not only tastes scrumptious but also allows you to enjoy the sweet and tangy flavors of cherries with minimal effort. Ready to indulge in a heavenly dessert? Let’s dive into this easy recipe that brings the classic cherry pie to bar form.
Ingredients List
To create these Cherry Pie Bars, gather the following ingredients:
- For the crust and topping:
- 2 1/2 cups all-purpose flour, sifted
- 1 cup unsalted butter, chilled and cubed
- 1 cup granulated sugar
- 1 teaspoon salt
- 1 teaspoon vanilla extract
- 1 egg, beaten (can substitute with a flax egg for vegan option)
- For the cherry filling:
- 2 cups fresh or frozen cherries, pitted and halved
- 1/2 cup granulated sugar (adjust based on sweetness preference)
- 2 tablespoons cornstarch (for thickening)
- 1 tablespoon lemon juice
These ingredients can be modified to cater to dietary restrictions. For instance, you can substitute the sugar with coconut sugar or honey, and use gluten-free flour to make it gluten-free.
Timing
This delightful dessert can be made in just under 90 minutes, which is about 20% less time than the average traditional pie recipe. Here’s a breakdown of the timing:
- Preparation time: 30 minutes
- Cooking time: 45 minutes
- Cooling time: 15 minutes
With this quick time frame, you can easily whip up this dessert even on busy weekdays!
Step-by-Step Instructions
Step 1: Prepare the Crust
In a large mixing bowl, combine the flour, sugar, and salt. Add the chilled butter and use a pastry cutter or your fingers to mix until it resembles coarse crumbs.
Step 2: Incorporate the Egg
Stir in the beaten egg and vanilla extract until the mixture is just combined. Do not overmix. Divide the dough into two parts, wrapping one half in plastic wrap to chill in the refrigerator for about 15 minutes.
Step 3: Preheat the Oven
While the dough is chilling, preheat your oven to 350°F (175°C). Line a 9×13 inch baking pan with parchment paper for easy removal.
Step 4: Roll Out the Dough
Take the other half of the dough and roll it out on a floured surface to fit the bottom of the prepared pan. Press it firmly into the base.
Step 5: Prepare the Cherry Filling
In a medium bowl, mix the cherries, sugar, cornstarch, and lemon juice until combined. Pour the mixture evenly over the crust in the baking pan.
Step 6: Crumble the Remaining Dough
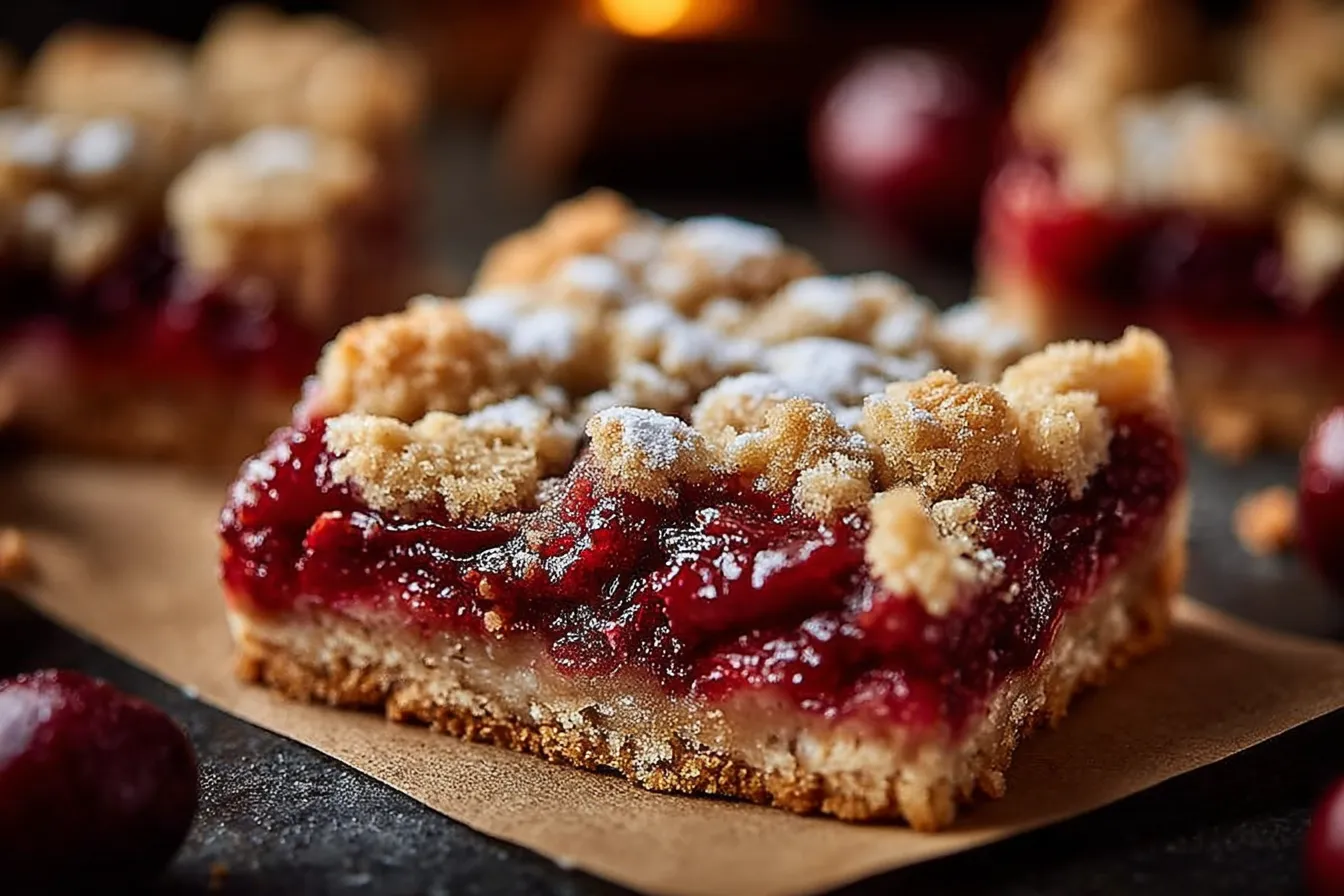
Using the chilled dough, crumble it over the cherry filling until it covers the surface. This will create a beautiful crumble topping.
Step 7: Bake
Bake in the preheated oven for 45-50 minutes or until the topping is golden brown and the filling is bubbly.
Step 8: Cool and Serve
Allow the bars to cool in the pan for at least 15 minutes before lifting them out using the parchment paper. Cut into squares and serve warm or at room temperature.
Nutritional Information
Understanding the nutritional content of your favorite desserts can help make informed choices. Here’s a breakdown of the cherry pie bars per serving:
- Calories: 250
- Fat: 12g
- Saturated Fat: 7g
- Cholesterol: 30mg
- Sodium: 150mg
- Total Carbohydrates: 35g
- Dietary Fiber: 2g
- Total Sugars: 15g
- Protein: 3g
This nutritional data emphasizes the balance of indulgence and moderation when enjoying your treats!
Healthier Alternatives for the Recipe
If you’re looking to lighten up this dessert without sacrificing flavor, here are some suggestions:
- Use whole wheat flour instead of all-purpose flour for a fiber boost.
- Substitute coconut oil for butter to create a dairy-free version.
- Replace granulated sugar with a natural sweetener, like maple syrup or agave nectar.
- Add oats to the crumble topping for extra texture and health benefits.
These swaps will keep the delightful taste intact while offering a healthier twist to the Cherry Pie Bars.
Serving Suggestions
Serving your Cherry Pie Bars can be a fun and creative experience! Here are some ideas to elevate your dessert:
- Top with a scoop of vanilla ice cream for a classic pairing.
- Serve warm drizzled with a homemade cherry sauce or chocolate sauce.
- Garnish with fresh mint leaves for an elegant touch.
- Experiment with flavored whipped cream, like almond or chocolate.
These options make the dessert appealing to a wide audience while adding a personalized flair!
Common Mistakes to Avoid
Even expert bakers can encounter pitfalls when making Cherry Pie Bars. Here are some common mistakes to watch out for:
- Using warm butter instead of chilled can make the crust too greasy and difficult to roll.
- Overmixing the dough can lead to a tough texture; mix until just combined.
- Failing to chill the dough can result in spreading during baking, so remember to refrigerate.
- Not letting the bars cool fully before cutting can cause them to crumble.
Avoiding these common mistakes will help you achieve the perfect Cherry Pie Bars every time!
Storing Tips for the Recipe
Proper storage will help maintain the freshness and quality of your Cherry Pie Bars:
- Cool completely before storing to prevent moisture buildup.
- Store in an airtight container at room temperature for up to three days.
- For longer storage, refrigerate or freeze. They can last up to one month in the freezer.
- To enjoy them later, thaw in the refrigerator before serving.
These storing tips ensure that your Cherry Pie Bars maintain their deliciousness even after a few days!
Conclusion
In just a short time, you can prepare these delectable Cherry Pie Bars that are a perfect blend of sweetness and tartness. With easy instructions and customizable options, this dessert is perfect for any occasion. Don’t hesitate to try this delightful recipe, share your feedback in the review section, or leave a comment on our blog. Subscribe for more delicious recipes and delightful cooking tips!
FAQs
A: Can I use different fruits for this recipe?
Absolutely! While cherries are the star of this recipe, you can substitute with raspberries, blueberries, or even a mix of berries for a delightful twist.
B: Can I make these Cherry Pie Bars vegan?
Yes! You can easily make them vegan by substituting eggs with a flax egg and using coconut oil instead of butter.
C: How do I know when the bars are done baking?
The cherry pie bars are done when the topping is golden brown and the cherry filling is bubbling around the edges. A toothpick inserted into the topping should come out clean.
D: Can I prepare the dough in advance?
Definitely! You can make and refrigerate the dough a day ahead or freeze it for up to a month. Just allow it to thaw and come to room temperature before rolling it out.
E: How can I make the bars gluten-free?
Use a 1:1 gluten-free flour blend in place of all-purpose flour. Ensure that all other ingredients, such as baking powder and cornstarch, are gluten-free as well.
Print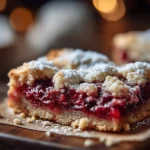
Cherry Pie Bars
- Total Time: 90 minutes
- Yield: 12 servings 1x
Description
Savor these easy Cherry Pie Bars with a sweet, fruity filling and flaky crust. Perfect for dessert lovers wanting a quick treat! 153 chars
Ingredients
Instructions
Notes
Enjoy a delightful twist on the classic cherry pie with these simple Cherry Pie Bars that are perfect for any occasion.
- Prep Time: 30 minutes
- Cook Time: 45 minutes
- Category: Dessert
- Cuisine: American
Nutrition
- Serving Size: 12 servings
- Calories: 250
- Sugar: 15g
- Fat: 12g
- Carbohydrates: 35g
- Fiber: 2g
- Protein: 3g