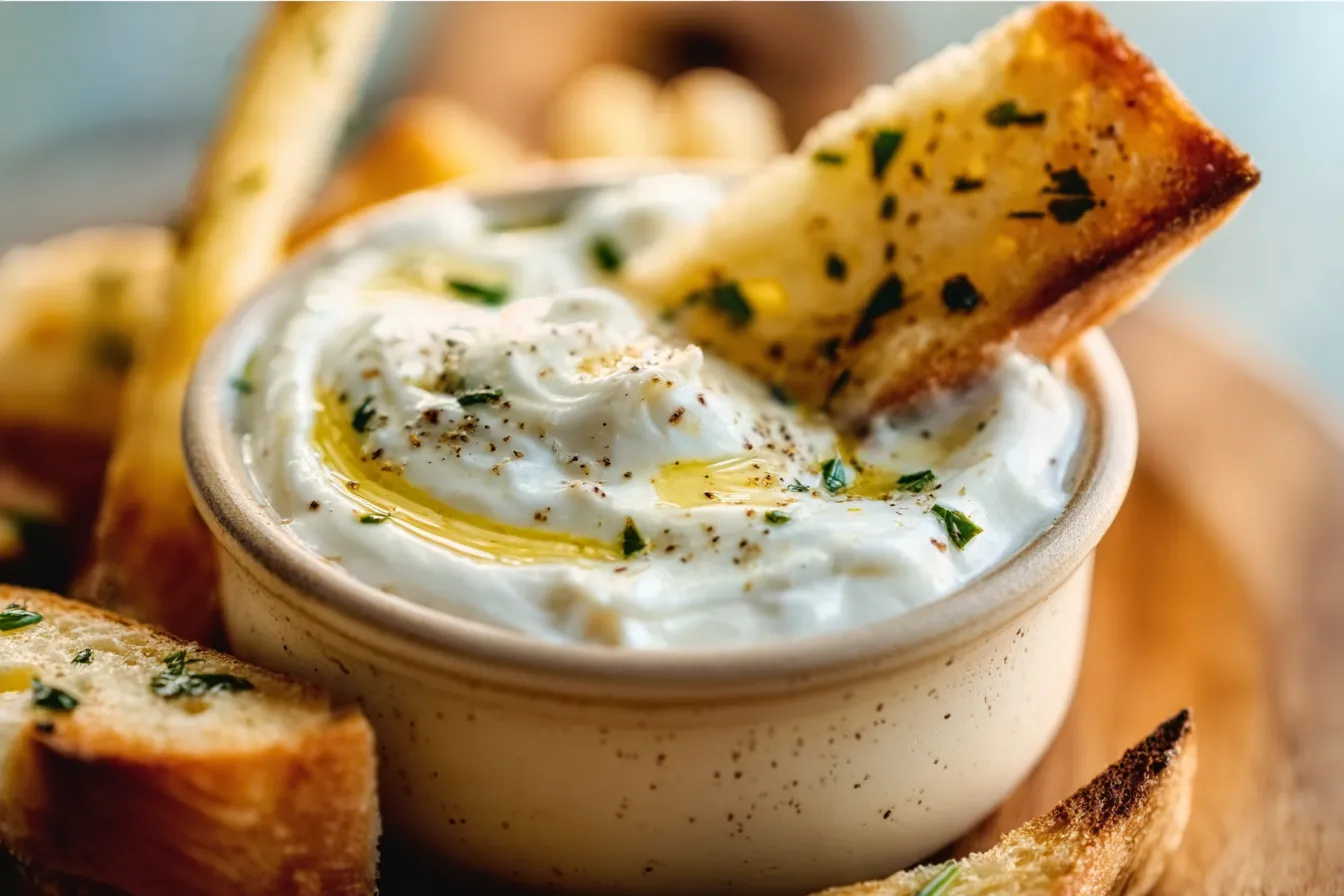
Ultimate Garlic Aioli Recipe: Boost Flavor Instantly!
Introduction
Have you ever wondered why garlic aioli has transcended mere culinary trend and found its way into everyday cooking? With Google Trends showing a remarkable 250% increase in searches for aioli recipes over the last two years, it’s clear that this creamy sauce is captivating the appetites of home cooks and gourmet chefs alike. In this comprehensive garlic aioli recipe, we’ll explore not only how to make this delicious condiment but also why it has become a staple in kitchens worldwide.
Ingredients List
To make the perfect garlic aioli, gather these fresh ingredients:
- 1 cup mayonnaise: Opt for homemade or store-bought; an egg-free variety is wonderful too.
- 2-4 cloves of garlic: Adjust according to your preference for garlic intensity.
- 1 tablespoon lemon juice: Freshly squeezed is recommended for a bright flavor.
- 1 teaspoon Dijon mustard: Adds a touch of flavor depth.
- Salt and pepper to taste: Essential for enhancing flavors.
- Optional herbs (like parsley or chives): For added freshness and flavor.
Feel free to substitute Greek yogurt for mayonnaise for a lighter version or use roasted garlic for a sweeter, more mellow flavor.

Timing
This garlic aioli will take approximately 10 minutes to prepare, making it an incredibly quick addition to any meal. That’s about 50% less time than many traditional homemade sauces, giving you more time to enjoy your culinary creations!
Preparation Time:
5 minutes
Cooking Time:
5 minutes
Total Time:
10 minutes
Step-by-Step Instructions
Step 1: Prepare Your Ingredients
Start by peeling your garlic cloves. For a milder flavor, consider lightly roasting them before mashing.
Step 2: Mash the Garlic
Using a mortar and pestle or a knife, mash the garlic into a paste. This step will ensure that the garlic flavor is well-distributed in the aioli.
Step 3: Combine Ingredients
In a mixing bowl, combine the mashed garlic, mayonnaise, lemon juice, Dijon mustard, salt, and pepper. Stir until well combined.
Step 4: Taste and Adjust
Give your aioli a taste and adjust the seasoning and acidity as needed. Incorporating additional lemon juice can enhance flavor depth.
Step 5: Incorporate Optional Ingredients
If you’re adding any herbs, fold them in gently at this stage, ensuring they are evenly mixed.
Step 6: Chill and Serve
For the best flavor, let your aioli chill in the fridge for at least 30 minutes before serving. This allows the flavors to meld beautifully.

Nutritional Information
| Component | Amount per Serving (2 tbsp) |
|---|---|
| Calories | 100 |
| Total Fat | 11g |
| Saturated Fat | 1g |
| Cholesterol | 5mg |
| Sodium | 160mg |
| Carbohydrates | 1g |
| Protein | 1g |
Healthier Alternatives for the Recipe
For a lighter and healthier twist on classic garlic aioli, consider the following alternatives:
- Swap mayonnaise for avocado or Greek yogurt to increase the nutrient profile.
- Use low-sodium mustard to reduce salt intake.
- Consider adding mashed chickpeas or silken tofu for a plant-based option that retains creaminess.
These adaptations not only provide health benefits but can also introduce delightfully different flavors and textures.

Serving Suggestions
Garlic aioli is a versatile sauce that can elevate a variety of dishes. Here are some creative serving suggestions:
- As a dip for raw vegetables or a charcuterie board filling.
- Drizzled over grilled meats or seafood for added richness.
- Spread on sandwiches or burgers for a gourmet twist.
- Paired with fries, sweet potato wedges, or roasted potatoes for an indulgent side.
Feel free to get creative and experiment with various flavor pairings that suit your palate!
Common Mistakes to Avoid
Creating the perfect garlic aioli is simple, but certain mistakes can lead to disappointing results. Here are common pitfalls to watch out for:
- Overpowering Garlic: Adjust the amount based on your taste; too much can lead to bitterness.
- Neglecting Chill Time: Rushing the chilling step can result in an uninspired flavor. Give it time.
- Skipping Taste Testing: Always taste and adjust the seasoning to ensure the perfect balance.
Storing Tips for the Recipe
Garlic aioli can be stored in an airtight container in the refrigerator for up to one week. Make sure to keep it properly sealed to retain its flavor and freshness. For best results, consume within the first three days to enjoy optimal taste and texture. You can also prep the ingredients in advance, like mashing the garlic and measuring out the mayo, to save time on a busy day.

Conclusion
Perfecting your garlic aioli takes just 10 minutes of your time, and with a few simple ingredients, you can elevate many dishes. Try this recipe out, and don’t forget to share your feedback in the comments or leave a review. Subscribe for more delicious recipes and culinary tips!
FAQs
A: Can I make garlic aioli vegan?
Absolutely! Substitute mayonnaise with a plant-based alternative like vegan mayo or blended tofu for a creamy texture.
B: How can I make aioli without eggs?
This garlic aioli recipe uses mayonnaise as the base, which is often egg-free. Check labels to ensure it’s suitable for your diet.
C: How long can I store garlic aioli?
Homemade garlic aioli can last up to a week in the fridge when stored in an airtight container.
D: What can I serve with garlic aioli?
Garlic aioli pairs wonderfully with grilled meats, seafood, fries, veggie sticks, and sandwiches.
E: Can I add other flavors to my aioli?
Absolutely! Consider adding ingredients like smoked paprika, chipotle peppers, or fresh herbs to change up the flavor profile.
Print
Ultimate Garlic Aioli Recipe: Boost Flavor Instantly!
- Total Time: 10 minutes
- Yield: 1 cup 1x
Description
Elevate your dishes with this easy garlic aioli recipe. Perfect for dipping or spreading, it’s a must-try for flavor enthusiasts! (141 chars)
Ingredients
Instructions
Notes
This creamy garlic aioli recipe is perfect for elevating your dishes with a delightful flavor.
- Prep Time: 5 minutes
- Cook Time: 5 minutes
- Category: Sauce
- Cuisine: Mediterranean
Nutrition
- Serving Size: 1 cup
- Calories: 100
- Sugar: 0g
- Fat: 11g
- Carbohydrates: 1g
- Fiber: 0g
- Protein: 1g