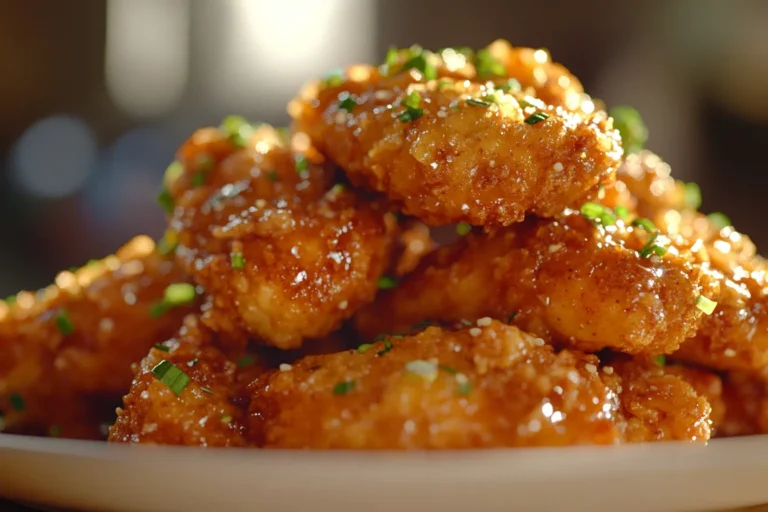
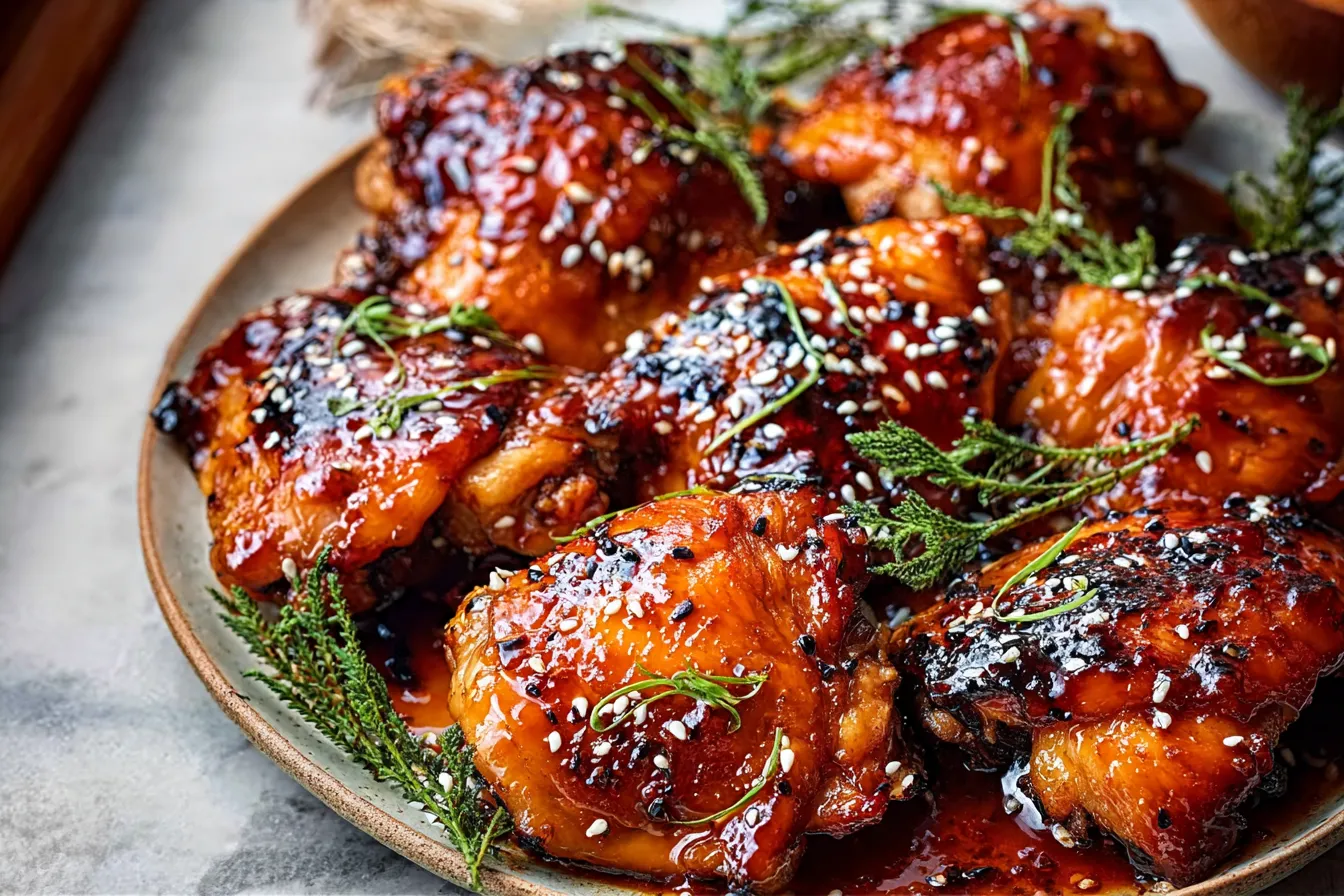
Sticky Teriyaki Chicken Thighs — The Restaurant Glaze Made At Home
That thin, watery teriyaki sauce that pools at the bottom of the pan instead of clinging to the chicken — you know exactly what I’m talking about. It’s the most frustrating thing about homemade teriyaki, and almost every recipe online misses the reason it happens.
After testing this recipe over a dozen times, I found two things that separate restaurant-quality sticky teriyaki chicken thighs from the pale, soggy version most home cooks end up with: baking at 425°F instead of the 375–400°F most recipes call for, and using a two-stage marinade technique where you reserve a portion before the chicken ever touches it, then reduce it into a proper lacquer glaze.
That’s it. Those two moves turn a basic weeknight chicken into something with a glossy, finger-licking coating that audibly pulls away when you lift a piece off the pan — the exact texture that makes you want to recreate it every time you order takeout.
- 425°F creates real caramelization — not steaming
- Two-stage technique = thick, lacquered glaze
- Ready in 45 minutes from scratch
- Meal prep ready — 3 days fridge, 3 months freezer
- Kid-friendly sweet-savory balance
- Budget-friendly: under $12 for 4 servings
- Marinade doubles as the sticky sauce
- Step photos for every stage — no guesswork
🔥 Why 425°F Is Non-Negotiable (What Other Recipes Get Wrong)
Every competitor recipe bakes between 375–400°F. That’s the single biggest reason their chicken comes out pale and their sauce stays thin. Here’s what’s actually happening inside your oven at each temperature:
Chicken thighs handle 425°F beautifully because their higher fat content self-bastes from the inside — the fat renders and keeps the meat moist while the surface caramelizes. That’s why thighs are non-negotiable for this recipe. Breasts dry out at this temperature.
How This Recipe Compares to Top-Ranked Alternatives
I went through the top 10 Google results for this keyword and mapped exactly where each one cuts corners — and what I built into this recipe instead:
| Feature | Most Competitors | This Recipe |
|---|---|---|
| Oven temperature | ❌ 375–400°F (insufficient caramelization) | ✅ 425°F — real lacquer glaze |
| Sauce technique | ❌ Pour & bake — sauce pools on pan | ✅ Two-stage reserve + reduce method |
| Step-by-step photos | ❌ Final dish only, or none | ✅ 4 process photos, every critical stage |
| Temperature guide | ❌ “Cook to 165°F” — that’s it | ✅ Full 5-point guide with ideal target (175°F) |
| Freeze-raw hack | ❌ Not mentioned | ✅ Freeze in marinade — thaws & marinates simultaneously |
| Visual sensory cues | ❌ “Bake 25 minutes” (timer-only) | ✅ Describes what to see, smell, hear at each stage |
| Mobile tables | ❌ Horizontal scroll, tiny text | ✅ Auto-switches to stacked cards on mobile |


*As an Amazon Associate I earn from qualifying purchases at no extra cost to you.
Ingredients
Eight pantry staples. Every single one plays a role — here’s what each does and how to swap it if needed.

*As an Amazon Associate I earn from qualifying purchases at no extra cost to you.
Step-by-Step Instructions
Follow the visual cues at each step — not just the timer. Your oven, your pan, your altitude all affect cooking time. The sensory signals below are always accurate; the clock is an estimate.
-
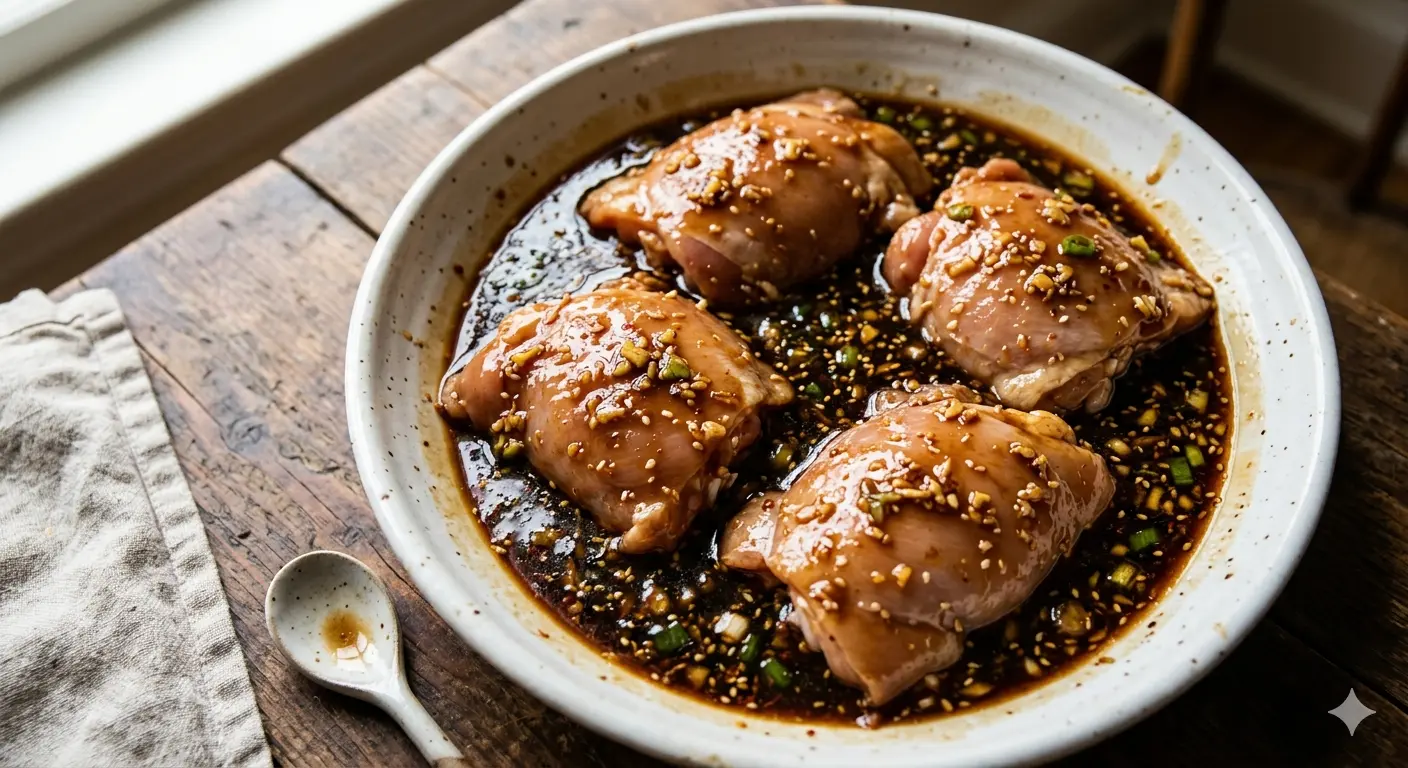
Step 1 — Build the Marinade
Whisk together soy sauce, honey, rice vinegar, minced garlic, ground ginger, and sesame oil in a medium bowl until fully combined. The mixture should look glossy, smell intensely savory-sweet, and have no honey strings — if the honey clumps, whisk harder or warm the bowl 10 seconds in the microwave.
The move that changes everything: Pour ¼ cup of marinade into a separate container and seal it immediately. This is your future glaze. The chicken never touches it. Do this before anything else.👁 Look for: smooth, glossy liquid that coats a spoon evenly and smells sharp-sweet💡 Pro tip: Add 1 tsp sriracha or gochujang here for a slow-building heat that doesn’t overpower the sweet-savory balance. Kids won’t notice it at 1 tsp. Adults will love it. -
Step 2 — Marinate the Chicken
Pat chicken thighs dry with paper towels first — moisture is the enemy of caramelization. Then place in a shallow dish or zip-lock bag and pour the marinade over them. Massage every surface. Refrigerate.
What marinating time actually does: At 30 minutes, soy sauce coats the surface only. At 4 hours, garlic and ginger penetrate 2–3mm into the meat. Overnight delivers restaurant-level depth throughout every bite.👁 Look for: thighs should look deeply stained dark brown after 4+ hours — that’s the soy binding to the proteins💡 Maximum time is 24 hours. Beyond that, salt breaks down proteins too aggressively — you’ll notice a slightly slick, mushy surface texture when raw. Overnight is the sweet spot. -
Step 3 — Preheat to 425°F (220°C)
Set your oven to 425°F and let it fully preheat — at least 15 minutes. Position the rack in the upper-middle slot for maximum surface heat. This temperature isn’t optional. At 375°F, honey evaporates and steams. At 425°F, the Maillard reaction activates properly and the sugars caramelize into the dark, sticky lacquer that defines real teriyaki.👁 Look for: oven thermometer reading true 425°F — most ovens run 25°F off
-
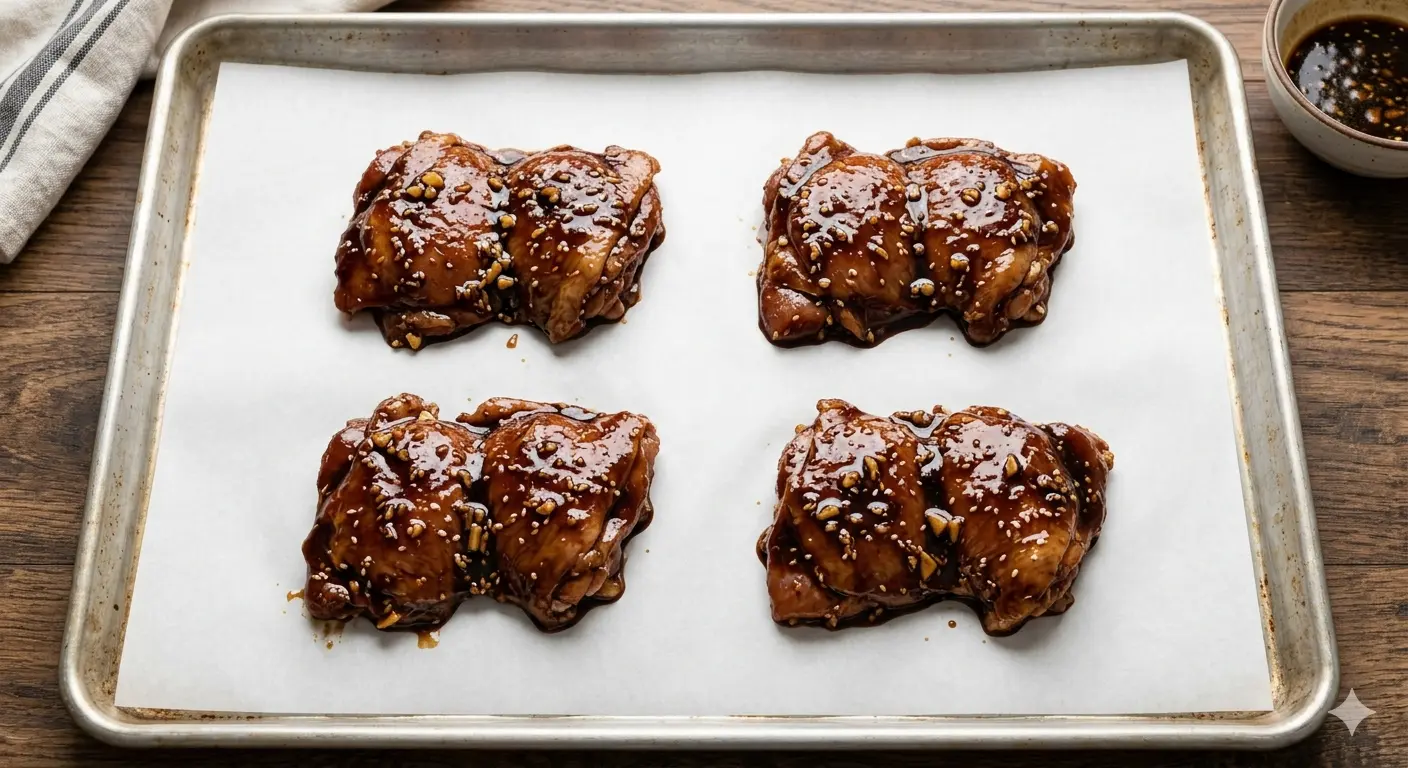
Step 4 — Arrange and Bake
Remove chicken from the marinade, shaking off excess, and place on a parchment-lined baking sheet. Space at least 1 inch apart — crowding creates steam and kills caramelization. A dark pan on a light pan (double-pan method) prevents the bottom from burning at this high heat.
Bake 25–30 minutes, flipping once at the 15-minute mark. You’re looking for deeply golden edges, not just “cooked through.”👁 Look for: edges should look dark amber and visibly lacquered — you should smell the caramelizing honey from across the kitchen before the timer ends💡 Broil finish: Switch to broil for the final 2–3 minutes for an extra-sticky, restaurant-level char. Watch constantly — honey goes from perfect to burned in under 60 seconds. -
Step 5 — Make the Sticky Sauce
While the chicken bakes, pour your reserved ¼ cup marinade into a small saucepan over medium heat. Bring to a visible simmer — small active bubbles across the whole surface, not just the edges. In a separate cup, fully dissolve 1 tbsp cornstarch in 2 tbsp cold water, then pour into the simmering sauce while stirring constantly. Cook 2–3 minutes until the sauce falls in thick, slow ribbons off a spoon.👁 Look for: sauce coats the back of a spoon and a line drawn through it holds for 2 seconds before closing — that’s the right thickness💡 Add 1 tsp sesame oil off the heat after thickening. Heat destroys sesame’s aromatic compounds — adding it last preserves that deep, nutty finish that makes people ask what your secret ingredient is.
-
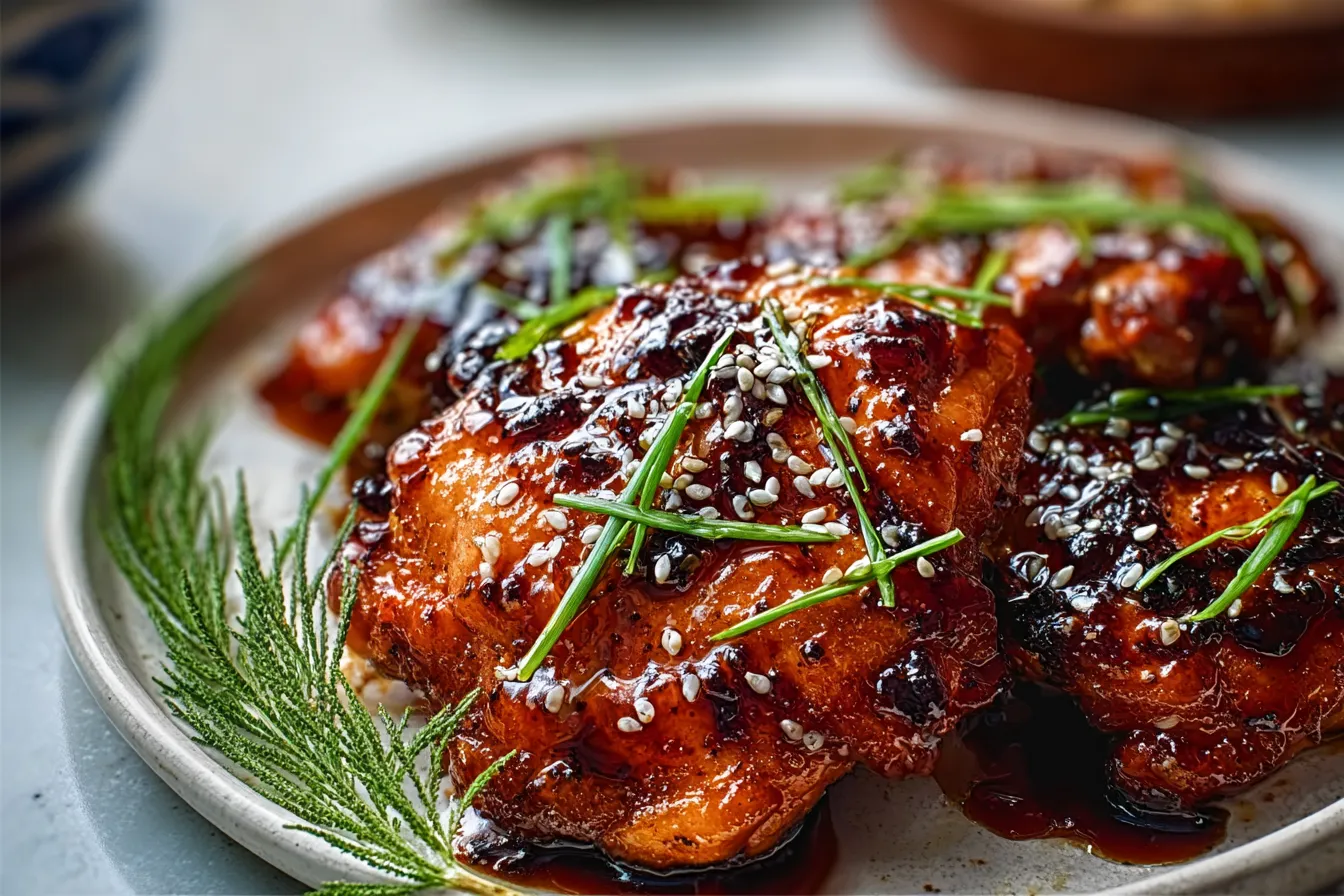
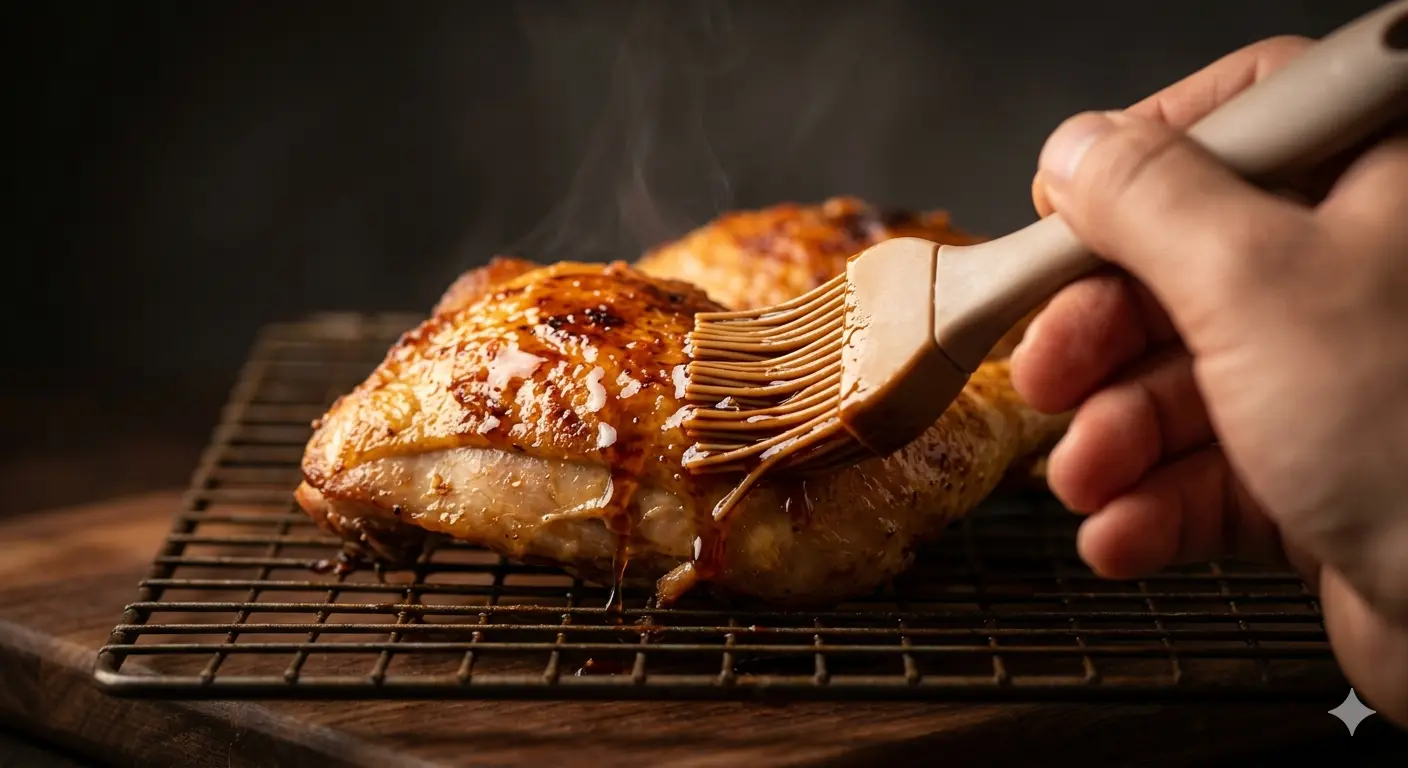
Step 6 — Glaze, Rest and Serve
The moment the chicken comes out, brush it generously with the sticky sauce using a silicone basting brush. Let it rest, uncovered, for 5 minutes — the glaze cools and sets into a proper skin while the interior juices redistribute. Apply a second coat. The surface should look glossy and almost varnished.👁 Look for: glaze should look like it was lacquered on — matte means it needs another coat; glassy-glossy means it’s ready⚠️ Don’t skip the rest. Cutting hot chicken immediately releases all the juices onto the cutting board. 5 minutes of patience = dramatically juicier chicken and a properly set glaze that doesn’t slide off.
🌡️ Temperature Guide — Know Exactly When It’s Done
165°F is safe. 175°F is optimal. Most recipes stop at the first number — here’s why that matters, and what’s actually happening at every point:
5 Variations to Try Next
Once the base recipe is locked in, these keep it in rotation all year without ever feeling repetitive:
🌶️ Spicy Teriyaki
Add 1 tablespoon gochujang and 1 teaspoon chili garlic sauce to the marinade. Cuts the sweetness and adds a slow-building heat that builds with each bite.
🍍 Pineapple Teriyaki
Replace 2 tablespoons honey with 3 tablespoons pineapple juice + 1 tablespoon brown sugar. The bromelain in pineapple also tenderizes the meat.
🧄 Garlic-Forward
Double the garlic to 4 cloves and add 1 tsp garlic powder. The garlic chars slightly at 425°F and creates incredible savory depth the base recipe doesn’t hit.
🍳 Air Fryer Version
Cook at 380°F for 18–22 minutes, brushing with glaze only in the last 4 minutes. Crispier exterior than the oven with a noticeably shorter cook time.
🥦 Sheet Pan Dinner
Add broccoli florets and bell peppers around the chicken for the last 15 minutes. A complete dinner on one pan — the vegetables char beautifully in the dripping glaze.
Nutritional Information
Per serving (1 chicken thigh with glaze, without rice):
Common Mistakes — And Exactly How to Fix Them
✅ Fix: 425°F, upper-middle rack, always. Non-negotiable.
✅ Fix: Reserve ¼ cup before chicken ever touches the bowl. This is the first thing you do, every time.
✅ Fix: 1 inch minimum between each thigh. Use two pans if needed. Air circulation is what creates the crust.
✅ Fix: Get the reserved marinade to a full simmer first, then pour the slurry in slowly while stirring constantly for 2–3 minutes.
✅ Fix: 5 minutes of rest, uncovered. The glaze sets, the juices redistribute, and you get a dramatically better result for exactly zero extra effort.
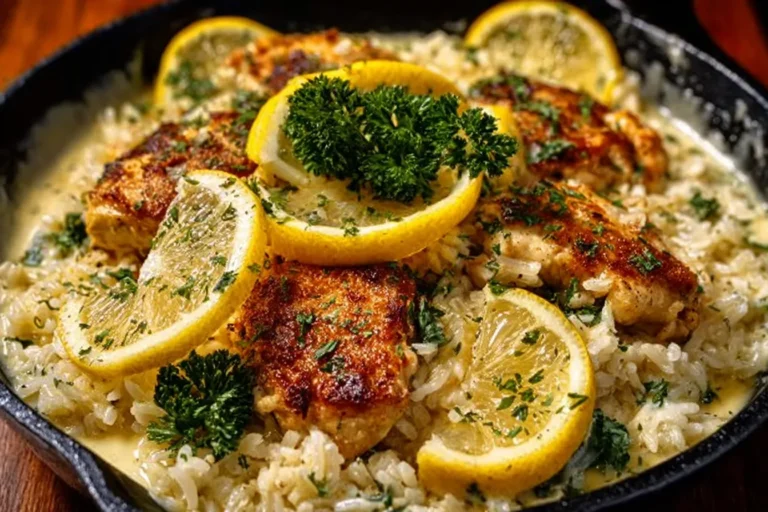
Serving Suggestions
The sticky sauce deserves a base that absorbs it properly. These are the pairings that actually work — not just ones that sound good:
Storage and Meal Prep
| Method | Duration | How To | Reheat Instructions | Pro Tip |
|---|---|---|---|---|
| Fridge (cooked) | Up to 3 days | Airtight container | Oven 350°F, foil-wrapped, 12 min | Add 1 tsp water before wrapping to prevent drying |
| Freezer (cooked) | Up to 3 months | Thighs and sauce in separate bags | Thaw overnight, then oven 350°F 15 min | Reglaze with fresh sauce after reheating |
| Freezer (raw — best method) | Up to 3 months | Chicken + marinade in zip-lock, flat | Thaw overnight in fridge, bake fresh | Marinates as it thaws = restaurant-level flavor, zero extra effort |
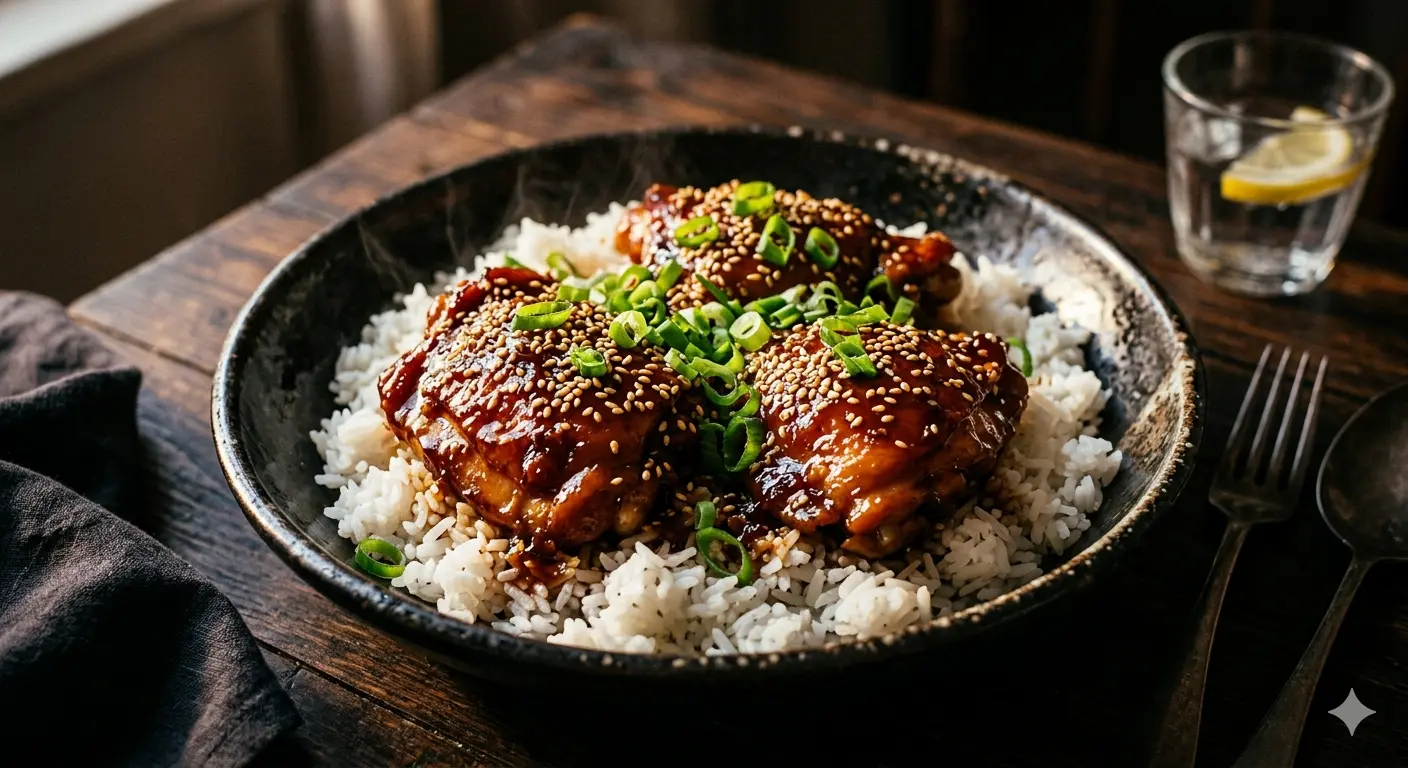
Sticky Teriyaki Chicken Thighs (Oven-Baked)
Juicy chicken thighs with a thick, restaurant-quality sticky glaze. One pan, 45 minutes.
Ingredients
- 4 boneless chicken thighs
- ½ cup soy sauce (low-sodium)
- ¼ cup honey
- 2 tbsp rice vinegar
- 2 cloves garlic, minced
- 1 tsp ground ginger
- 1 tbsp sesame oil
- 1 tbsp cornstarch + 2 tbsp cold water
- Sesame seeds + green onions to garnish
Instructions
- Whisk marinade. Reserve ¼ cup before adding chicken.
- Pat chicken dry, coat in marinade, refrigerate 30 min minimum.
- Preheat oven to 425°F (220°C), upper-middle rack.
- Bake 25–30 min, flip at 15 min. Target 175°F internal.
- Simmer reserved marinade + cornstarch slurry 2–3 min until thick and ribbony.
- Brush glaze on chicken. Rest 5 min. Apply second coat. Garnish and serve.
Frequently Asked Questions
Reserve the marinade first. Preheat to 425°F — not 375°F. Pat the chicken dry before it goes in. Let it rest before you cut.
Four moves. Forty-five minutes. The sticky teriyaki glaze you’ve been chasing every time you order takeout.
Made these Sticky Teriyaki Chicken Thighs? Leave a ⭐ star rating and a comment below — we read every single one and would love to hear how yours turned out.