Stunning DIY Fruit Tray Ideas for a Perfect Party Upgrade
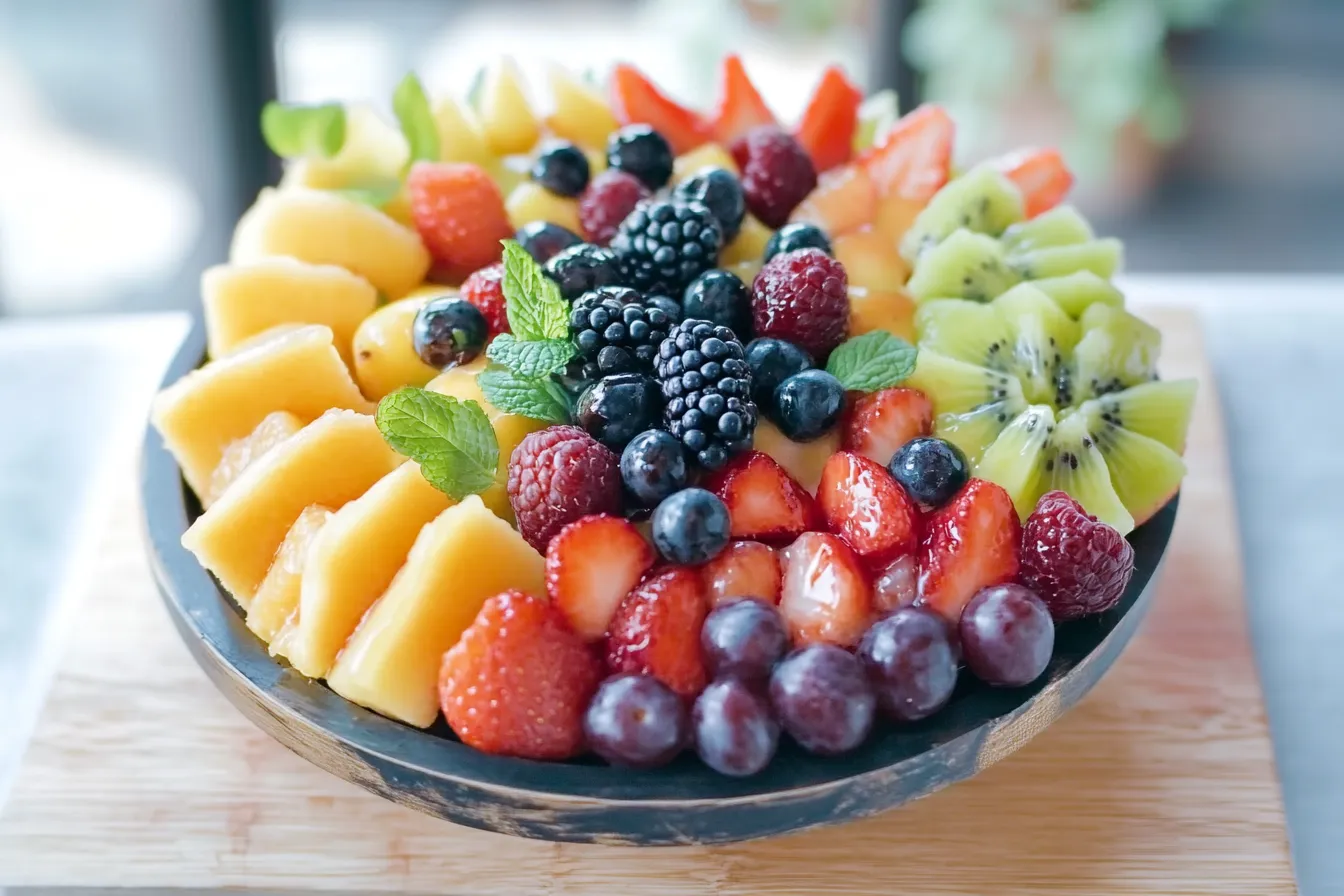
Table of Contents
Introduction
DIY Fruit Tray : Did you know that over 70% of people claim to eat healthier when presented with colorful fruit options? A DIY fruit tray is more than just a healthy snack; it’s an artistic expression that encourages healthy eating habits. With fresh, juicy fruits at your fingertips, you can effortlessly impress your guests or simply treat yourself to something delightful. In this blog post, we’ll walk you through creating a mouthwatering DIY fruit tray that not only looks stunning but also ensures your family gets their daily dose of essential vitamins and nutrients.
Ingredients List
Creating a stunning DIY fruit tray requires a selection of fresh fruits that are visually appealing and delicious. Here’s a list of ingredients to get you started:
- Fruits: Choose a mix of seasonal fruits for the best flavor. Here are some fantastic options:
- Strawberries
- Blueberries
- Kiwi (sliced)
- Mango (cubed)
- Melon (watermelon, cantaloupe, or honeydew)
- Grapes
- Pineapple (cubed)
- Apples (sliced, brushed with lemon juice to prevent browning)
- Dipping Options: Enhance flavor profiles with delightful dips:
- Yogurt (vanilla or honey flavored)
- Chocolate sauce
- Honey
- Nut butter (almond or peanut butter)
- Optional Garnishes: Fresh mint leaves or edible flowers add a pop of elegance.

Timing
Preparation for your DIY fruit tray is quick and easy. Typically, it will take:
- Preparation Time: 20 minutes
- Total Time: 20 minutes
This is about 30% less time than the average appetizer prep, allowing you to enjoy the colorful fruit without the hassle.
Step-by-Step Instructions
Step 1: Gather Your Ingredients
Start by collecting all your fruits, dips, and any optional garnishes. A clean workspace makes the preparation much more enjoyable.
Step 2: Prepare Your Fruits
Wash all fruits thoroughly. For fruits like apples and bananas, slice them just before serving to maintain freshness. Consider brushing apple slices with lemon juice to keep them from browning.
Step 3: Arrange Your Tray
Select a large platter or a wooden cutting board. Start by placing larger fruits like watermelon slices or pineapple chunks in the center. Surround them with smaller fruits like berries and kiwi slices. Get creative with placement; make it colorful and appealing!
Step 4: Add Dips
In small bowls, add your chosen dips such as yogurt or chocolate sauce. Position these bowls around the tray for easy access.
Step 5: Garnish and Serve
Finish off by sprinkling fresh mint leaves or placing edible flowers around the tray. This last touch makes the tray even more inviting. Now you’re ready to serve!

Nutritional Information
A DIY fruit tray can be a nutrient-packed delight! Here’s a breakdown of the nutritional benefits:
- High in vitamins A and C
- Rich in antioxidants
- Good source of dietary fiber
- Low in calories compared to other snacks
Each fruit offers unique nutrients, so the variety enriches your overall health. For example, a cup of strawberries contains only 50 calories but provides more than 100% of the daily value of vitamin C.
Healthier Alternatives for the Recipe
If you’re looking to enhance the nutritional profile further, consider these modifications:
- Substitute yogurt with Greek yogurt for added protein.
- Use dark chocolate or a homemade fruit dip to cut down on sugar.
- Opt for organic fruits when possible to minimize pesticide exposure.
- Experiment with dried fruits for a different texture and flavor, but watch the sugar content.

Serving Suggestions
Serve your fruit tray for various occasions, such as:
- Brunch gatherings
- Birthday parties
- Picnics in the park
- As an after-school snack
For a personalized touch, encourage guests to create their combinations. It not only entertains but also engages everyone in the experience.
Common Mistakes to Avoid
While preparing a DIY fruit tray may seem uncomplicated, here are some common pitfalls to avoid:
- Using overripe or bruised fruits can ruin the presentation. Always choose fresh, ripe items.
- Neglecting to wash fruits properly may lead to unwanted residues. A good rinse is essential.
- Forgetting to include a variety of textures and colors makes the tray less appealing.
- Not preparing the tray immediately before serving can lead to browning and wilting.
Storing Tips for the Recipe
Leftovers can sometimes happen, but storing your fruit tray properly maximizes freshness:
- Keep cut fruits in an airtight container lined with a paper towel in the fridge.
- For fruits that brown quickly, like apples and bananas, consume them as soon as possible or apply lemon juice.
- Store dips in separate containers to preserve their quality and flavor.
Conclusion
Creating a DIY fruit tray is not just about eating healthy; it’s an opportunity to present vibrant flavors while impressing friends and family. We encourage you to try this fun, engaging recipe and share your feedback in the comments section below. Don’t forget to subscribe for more delicious updates!
Also discover our other delicious recipe in the same category : Delicious Summer Salad Recipes for a Refreshing Feast
FAQs
A: How do I choose the best fruits for my tray?
Look for a variety of colors, textures, and flavors. Select seasonal fruits for optimal taste and freshness.
B: Can I prepare the fruit tray in advance?
Yes, you can prepare your fruits a few hours in advance. Store them in airtight containers to maintain freshness until serving.
C: How can I keep fruits from browning?
Brushing sliced apples or bananas with lemon juice is an effective way to prevent browning. Alternatively, use an ascorbic acid solution.
D: Is it possible to make a fruit tray for a large gathering?
Absolutely! Simply increase the quantities of each fruit and use multiple platters to accommodate all your guests.
E: What are some complementary foods I can serve with a fruit tray?
Consider serving cheese platters, nuts, or crackers alongside your fruit tray for a complete grazing experience.
Print
Stunning DIY Fruit Tray Ideas for a Perfect Party Upgrade
- Total Time: 20 minutes
- Yield: Serves 6
Description
Elevate your gathering with stunning DIY fruit tray ideas Impress guests with creative arrangements that add flair to any party upgrade
Ingredients
Instructions
- Prep Time: 20 minutes
- Cook Time: 0 minutes
- Category: Snack
- Cuisine: American
Nutrition
- Calories: 50 calories
- Sugar: 8 grams
- Fat: 0 grams
- Carbohydrates: 12 grams
- Fiber: 2 grams
- Protein: 1 gram