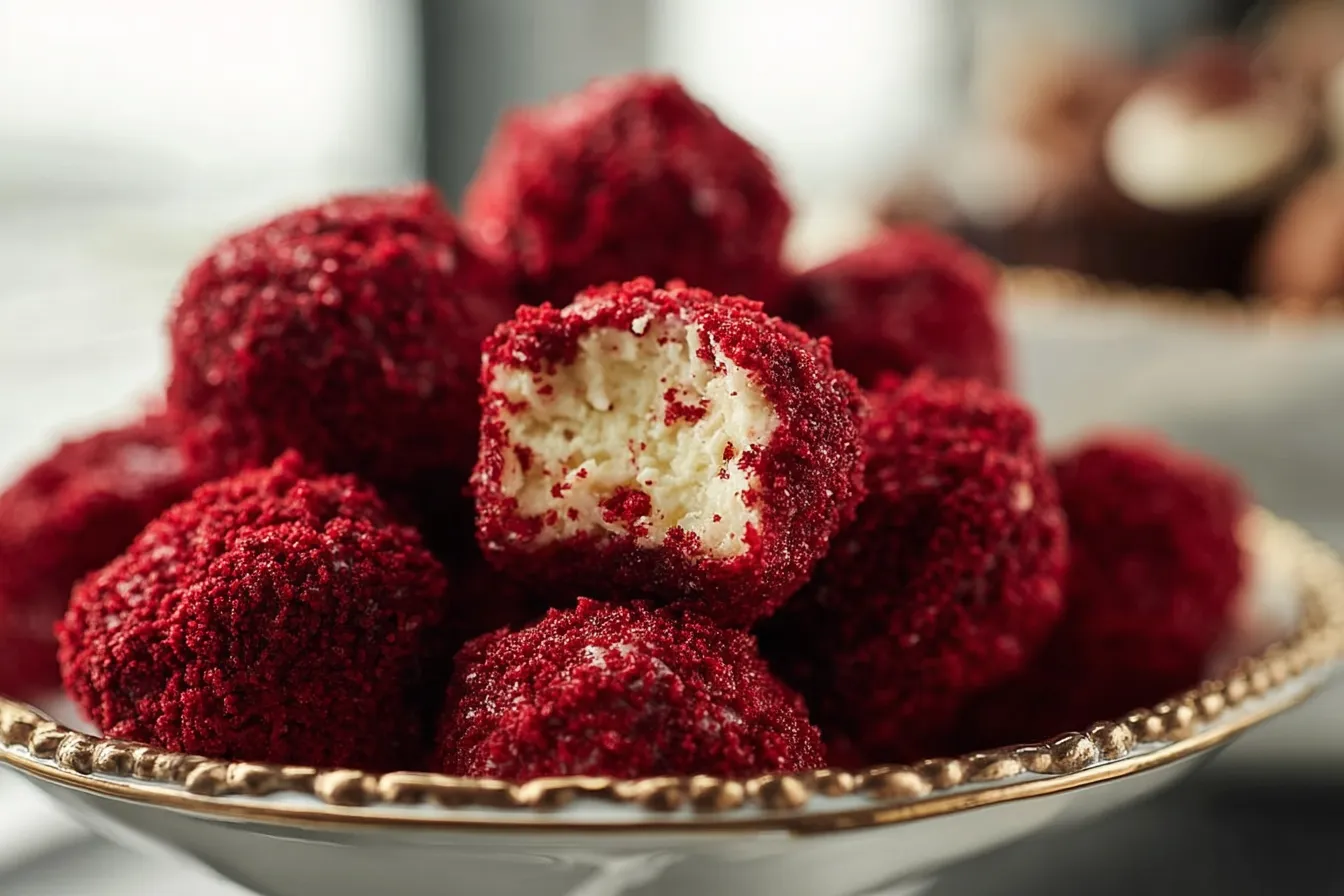
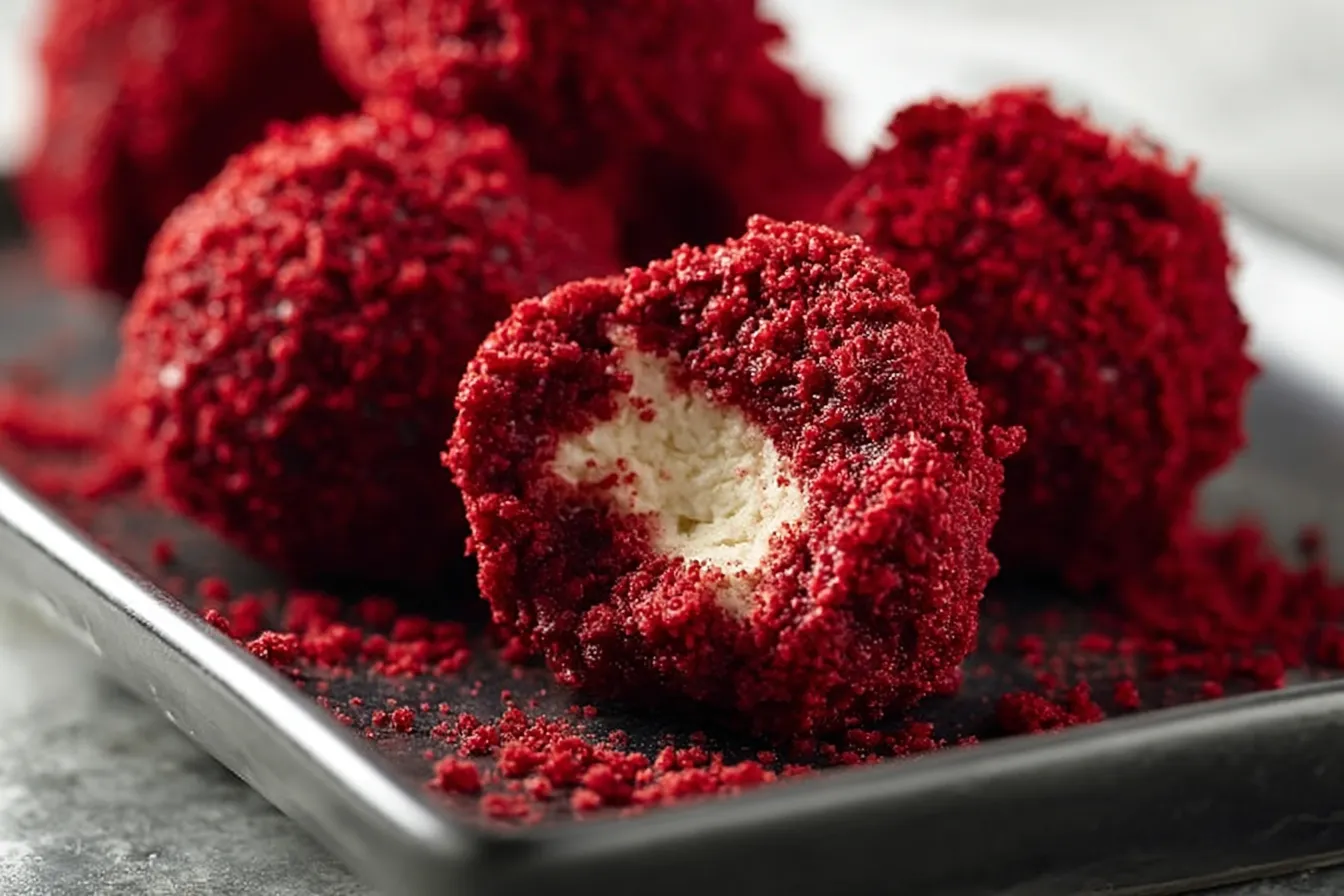
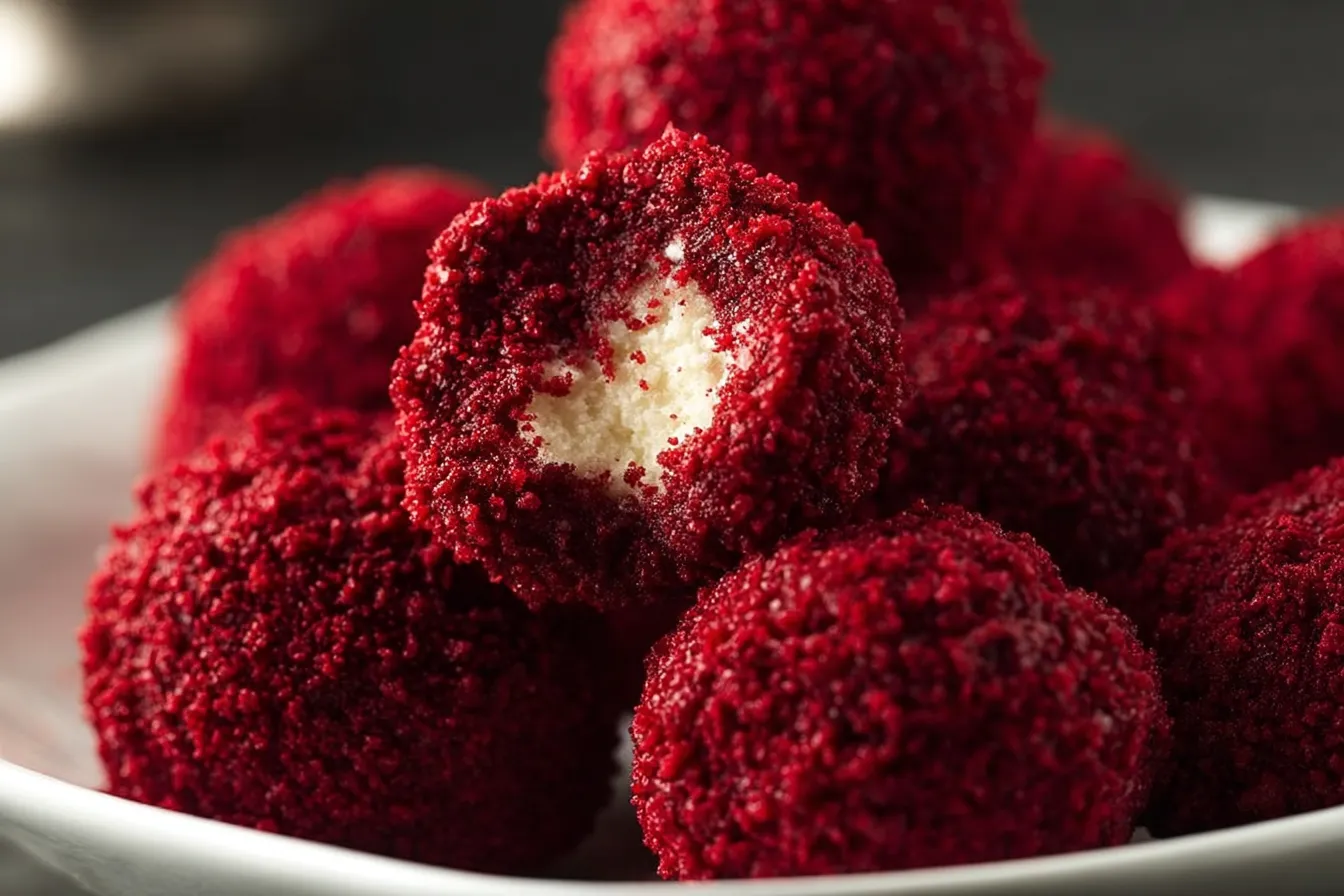
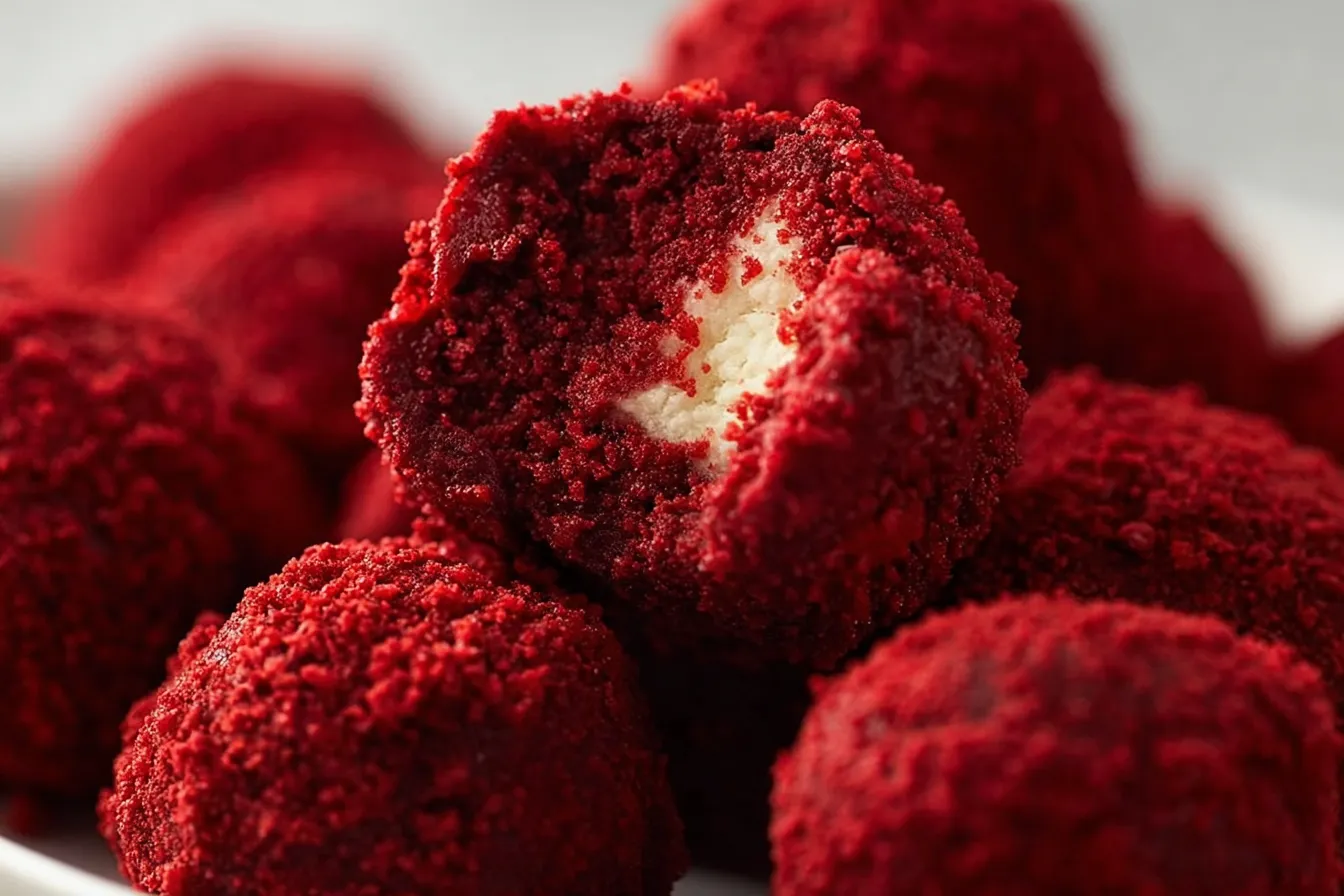
Indulge in Divine Red Velvet Cheesecake Balls – Tempting Treats!
Introduction
Have you ever wondered how to combine the rich allure of red velvet cake with the creamy indulgence of cheesecake? The perfect solution lies in making irresistible Red Velvet Cheesecake Balls! These bite-sized treats marry the classic flavors of red velvet and cream cheese, resulting in a sweet sensation that tantalizes the taste buds. With a surge in popularity for creative dessert recipes, these delectable bites are not just a feast for the palate but also a visual delight.
Ingredients List
To embark on your culinary adventure, gather the following ingredients:
- 1 box of red velvet cake mix (or homemade red velvet cake from 2 cups flour, 1 cup sugar, 1 tsp cocoa powder, 1 tsp baking soda, 1 tsp baking powder, ½ tsp salt, 1 cup vegetable oil, 1 cup buttermilk, 2 large eggs, 2 tbsp red food coloring, 1 tsp vanilla extract)
- 1 (8 oz) package of cream cheese, softened
- 1/2 cup powdered sugar
- 1 tsp vanilla extract
- 1 cup chocolate chips (white, milk, or dark, based on preference)
- Cocoa powder or sprinkles for coating
Substitutions can include using dairy-free cream cheese for a vegan alternative or substituting the chocolate coating with crushed nuts or coconut flakes for a unique twist.
Timing
This recipe is a delightful creation that takes approximately 90 minutes to prepare and serve, which is 20% less time than the average cake recipe. Here’s the breakdown:
- Preparation time: 30 minutes
- Cooking time: 25 minutes (for the cake)
- Chilling time: 35 minutes
Step-by-Step Instructions
Step 1: Bake the Red Velvet Cake
Preheat your oven to 350°F (175°C). Prepare a 9×13 inch baking pan by greasing and lightly flouring it. In a large mixing bowl, combine the red velvet cake mix with the ingredients listed in the box or the details above for the homemade version. Beat until well combined and smooth. Pour the batter into the pan and bake for 25 minutes.
Step 2: Cool the Cake
Once baked, remove the cake from the oven and allow it to cool in the pan for about 10 minutes. Then transfer it to a wire rack and let it cool completely. This is crucial as warm cake can turn your cheesecake filling too soupy!
Step 3: Prepare the Cheesecake Mixture
In a medium bowl, beat the softened cream cheese with an electric mixer until smooth. Gradually add in the powdered sugar and vanilla extract until creamy and fluffy. This rich filling is what makes your Red Velvet Cheesecake Balls so delightful!
Step 4: Combine Cake and Cheesecake Mixture
Crumble the cooled red velvet cake into the cheesecake mixture. Use your hands to mix well until fully combined—a fun hands-on step that helps bring everything together into a deliciously gooey mixture!
Step 5: Form the Balls
Using a small ice cream scoop or your hands, form the mixture into 1-inch balls. Place them on a baking sheet lined with parchment paper. This is your chance to make them uniform in size—perfect for sharing!
Step 6: Chill the Cheesecake Balls
Refrigerate the balls for at least 30 minutes to help them firm up. This step is vital; it ensures that they hold their shape when you coat them.
Step 7: Coat the Balls
Once chilled, melt your chocolate chips in a microwave-safe bowl at 30-second intervals, stirring until completely melted. Dip each cheesecake ball into the melted chocolate, coating it evenly. Use a fork to lift it out, allowing excess chocolate to drip off. Roll the coated ball in cocoa powder or sprinkles and place it back on the parchment-lined sheet.
Step 8: Final Chill
After coating, pop the cheesecakes back into the fridge for about 15 minutes, allowing the chocolate to set completely. Enjoy your beautiful creations!
Nutritional Information
Here’s a breakdown of the nutritional content per cheesecake ball (assuming this recipe yields about 24 balls):
- Calories: 130
- Fat: 7g
- Carbohydrates: 16g
- Protein: 2g
- Sugar: 10g
These dessert bites are not only delicious but are also a great way to satisfy your sweet cravings without going overboard.
Healthier Alternatives for the Recipe
Want to make your Red Velvet Cheesecake Balls a bit healthier? Here are some ideas:
- Use whole wheat flour instead of regular flour in the cake recipe to boost fiber content.
- Swap out traditional cream cheese for a Greek yogurt or a lower-fat cheese alternative for a healthier filling.
- Reduce the sugar quantity by 25% without significantly affecting the sweetness.
- Consider using natural food colorings to enhance color instead of artificial dyes.
These substitutions maintain all the indulgent flavors while making this dessert mindfully enjoyable!
Serving Suggestions
Red Velvet Cheesecake Balls are incredibly versatile and can be served in a variety of delightful ways:
- Arrange them on a dessert platter, garnished with fresh berries or mint leaves for a sophisticated touch.
- Serve them with a small bowl of melted chocolate or strawberry sauce for dipping, making for a fun, interactive dessert experience.
- These bites are perfect for special occasions like birthdays, weddings, or holiday gatherings!
Don’t forget to get creative with your presentation for added flair!
Common Mistakes to Avoid
- Overbaking the Cake: This will lead to a dry texture, so keep a close eye on it during the last few minutes.
- Skipping the Cooling Step: Ensure your cake is fully cooled before mixing, or you risk a soupy cheesecake mixture.
- Not Chilling the Balls: They need enough time in the fridge to hold their shape while coating—don’t skip this step!
- Coating While Chocolate is Too Hot: Allow the melted chocolate to cool slightly so it doesn’t melt your cake balls.
Storing Tips for the Recipe
Keep your Red Velvet Cheesecake Balls fresh and delicious with these storage tips:
- Store leftover cheesecake balls in an airtight container in the refrigerator for up to one week.
- If you plan to make them ahead of time, you can freeze them for up to three months. Just ensure they are well-wrapped to avoid freezer burn.
- For best flavor and texture, allow frozen cheesecake balls to thaw in the refrigerator overnight before serving.
Conclusion
In summary, these Red Velvet Cheesecake Balls combine the best of both worlds—rich red velvet cake and luscious cheesecake, all in one scrumptious bite. Ready to impress your friends and family? Try this recipe today, and don’t forget to share your thoughts in the comments! Subscribe for more delightful recipes and updates!
FAQs
A: Can I use a different cake mix flavor?
Absolutely! Feel free to experiment with different cake flavors, such as chocolate or vanilla, to add variety to your cheesecake balls.
B: How long do these cheesecake balls last?
These delightful cheesecake balls can last in the refrigerator for up to one week and can also be frozen for up to three months.
C: Can I make these cheesecake balls gluten-free?
Yes! Simply swap the red velvet cake mix and flour with a gluten-free alternative, ensuring all other ingredients are also gluten-free.
D: What can I use instead of chocolate chips for coating?
If you’d like to try something different, consider using crushed nuts, shredded coconut, or even a fine layer of cocoa powder to coat your cheesecake balls.
E: Is there a vegan version of this recipe?
You can definitely create a vegan version by using a vegan cake mix, plant-based cream cheese, and a dairy-free chocolate for coating.
Print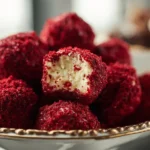
Red Velvet Cheesecake Balls
- Total Time: 90 minutes
- Yield: 24 balls 1x
Description
Savor the rich flavor of Red Velvet Cheesecake Balls, a delightful dessert perfect for any occasion. Treat yourself to these irresistible bites! (153 chars)
Ingredients
Instructions
Notes
These bite-sized Red Velvet Cheesecake Balls combine the classic flavors of red velvet and cream cheese, resulting in an indulgent treat that is both visually appealing and delicious.
- Prep Time: 30 minutes
- Cook Time: 25 minutes
- Category: Dessert
- Cuisine: American
Nutrition
- Serving Size: 24 balls
- Calories: 130
- Sugar: 10g
- Fat: 7g
- Carbohydrates: 16g
- Fiber: 1g
- Protein: 2g